
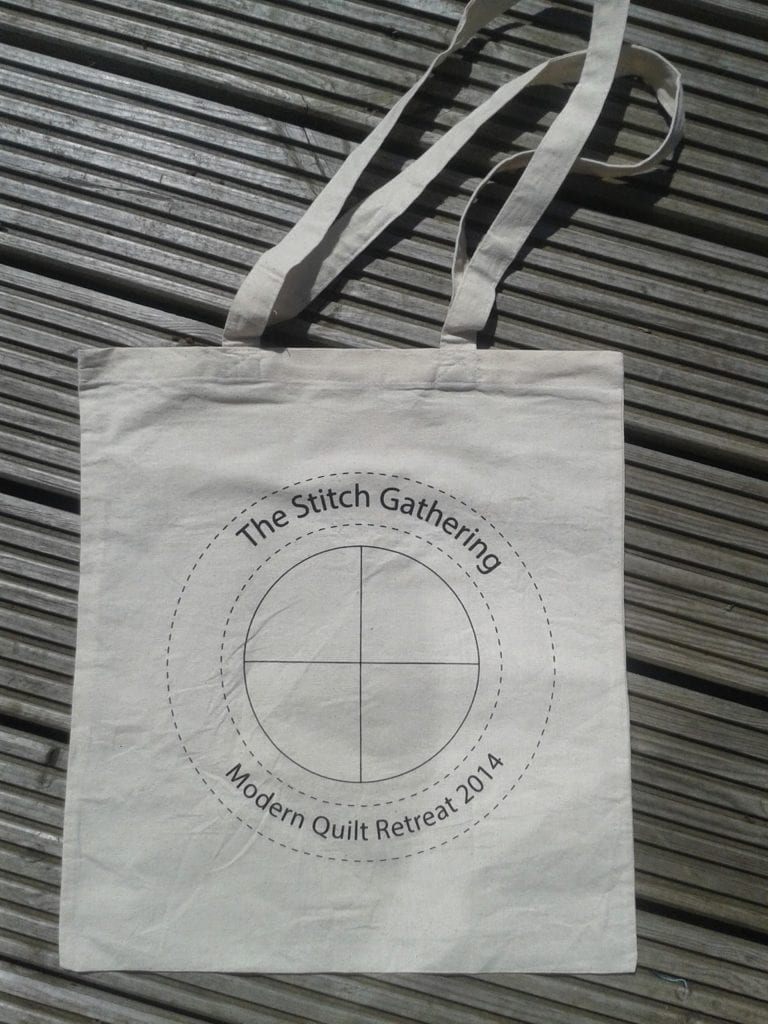
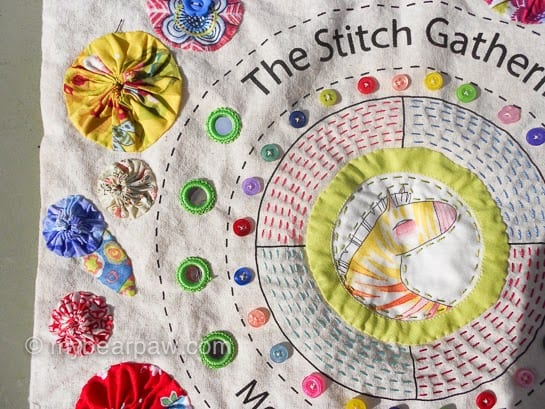
The Stitch Gathering Ticket Bag Samples

I’m sure by now you have all heard about the Stitch Gathering. And all about the quilt I recently finished from last year’s fabric tickets.
A few people suggested that last year’s ticket was such a great idea we would have trouble topping it this year. Well I had something up my sleeve that might just do it…

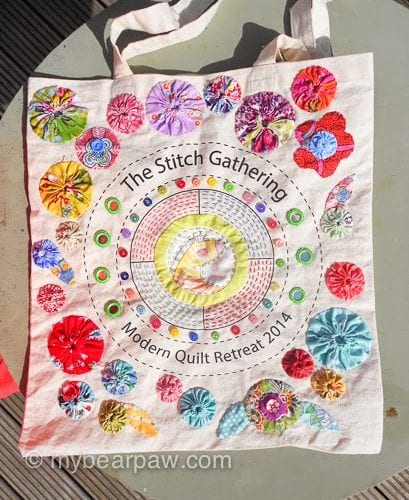
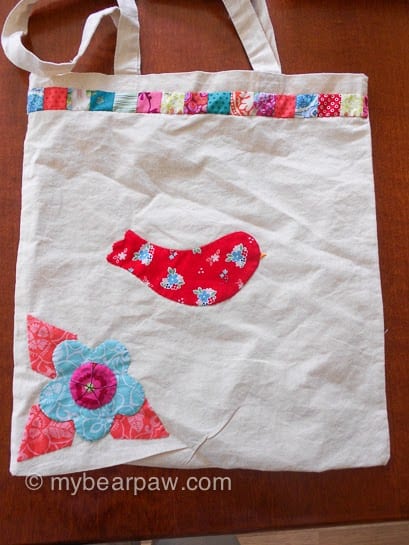
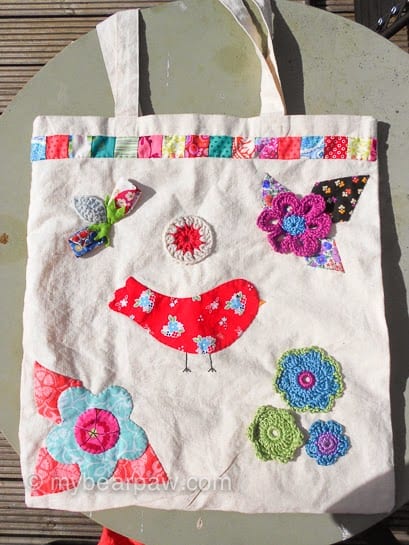
This first bag is my ‘use it all up’ bag. I keep everything, all left over bits from projects, shapes I cut out and had spare, bits that didn’t work out or were cut out wrong. Here’s some of the stuff I found half way through this project – left over EPP shapes, crochet flowers, some ready made shisha mirrors my son brought me back from India (along with those adorable birds which I still couldn’t bring myself to use!!), some left over rose buds from last year’s Fabric Origami workshop, etc.
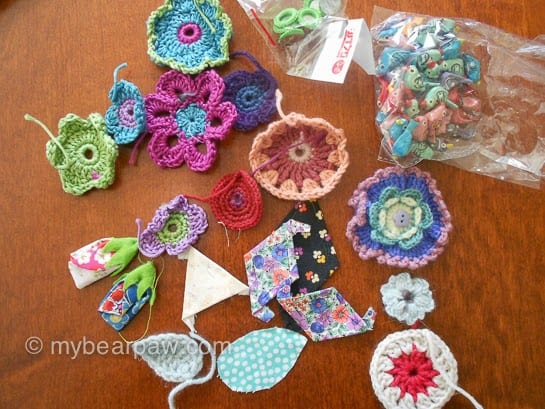
I’ve been on a break from teaching for the last week and a half and the weather has been amazing here, so I’ve been sitting in the garden just playing with this bag, sewing on all kinds of stuff. That bird in the middle was left over from my last Applique workshop, somebody cut it out from the wrong side (but I took it home!).
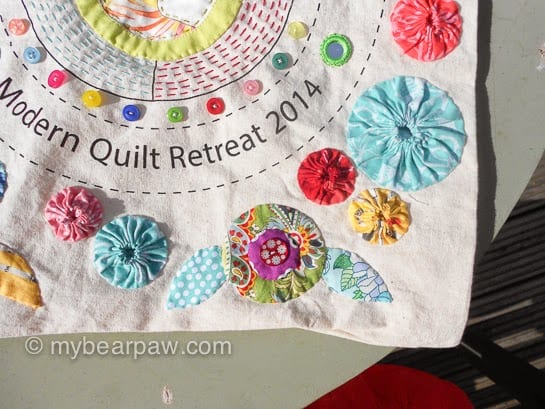
I had a lot of yo-yos left over from a project I did a couple of months ago (which you’ll all get to see at the end of July!). Also I had a lot of circles left over from Portholes I’d made – these are perfect for yo-yos. I loved appliqueing all these bright and beautiful yo-yos, plus some flowers and leaves, on to this bag.
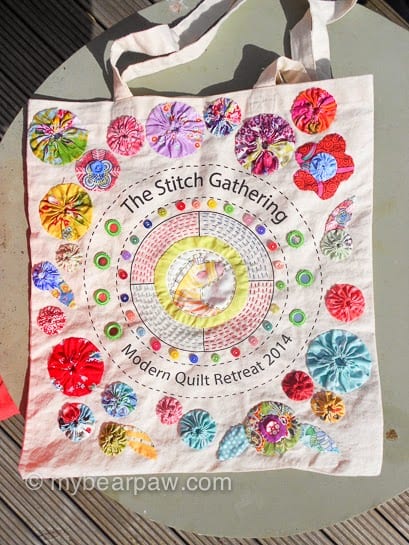
This was total playtime for me! I finished it off with some hand quilting, some buttons and the shisha mirrors.
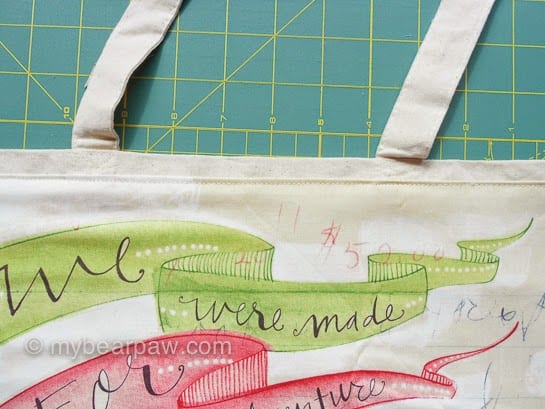
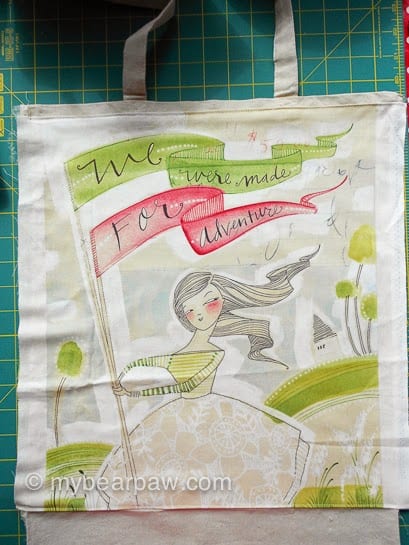
Now this bag took a long time, but that was ok because I love hand work and I had the time to do it while I was sunbathing. I know most prople will not have the time and inclination to do all of this but I am hoping you can take an idea or two from my ‘Rio Carnival’ bag to use on your own.
Here is the finished back below. You’ve no idea the restraint I had to employ to actually leave those empty spaces – I could have gone on and on covering every spare inch! But I needed to turn my attention to bag number 2.
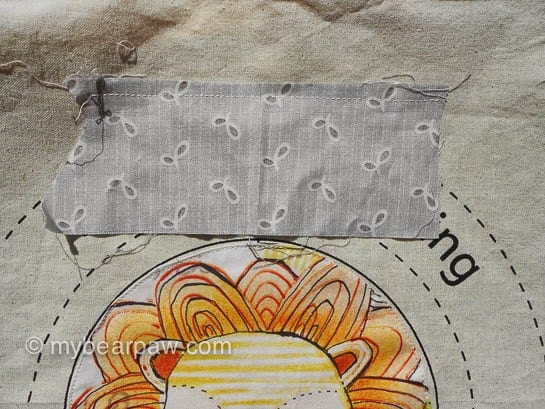
Hers is the back
I then flipped it over, pressed, then top stitched along the top of the panel.
I turned over a seam at the bottom of the panel so that the folded seam sat excatly on the fold of the bag and top stitched this down too.
So that was the back sorted. No need to worry about the sides of the panel as that will get seen to in when I put the bag back together.
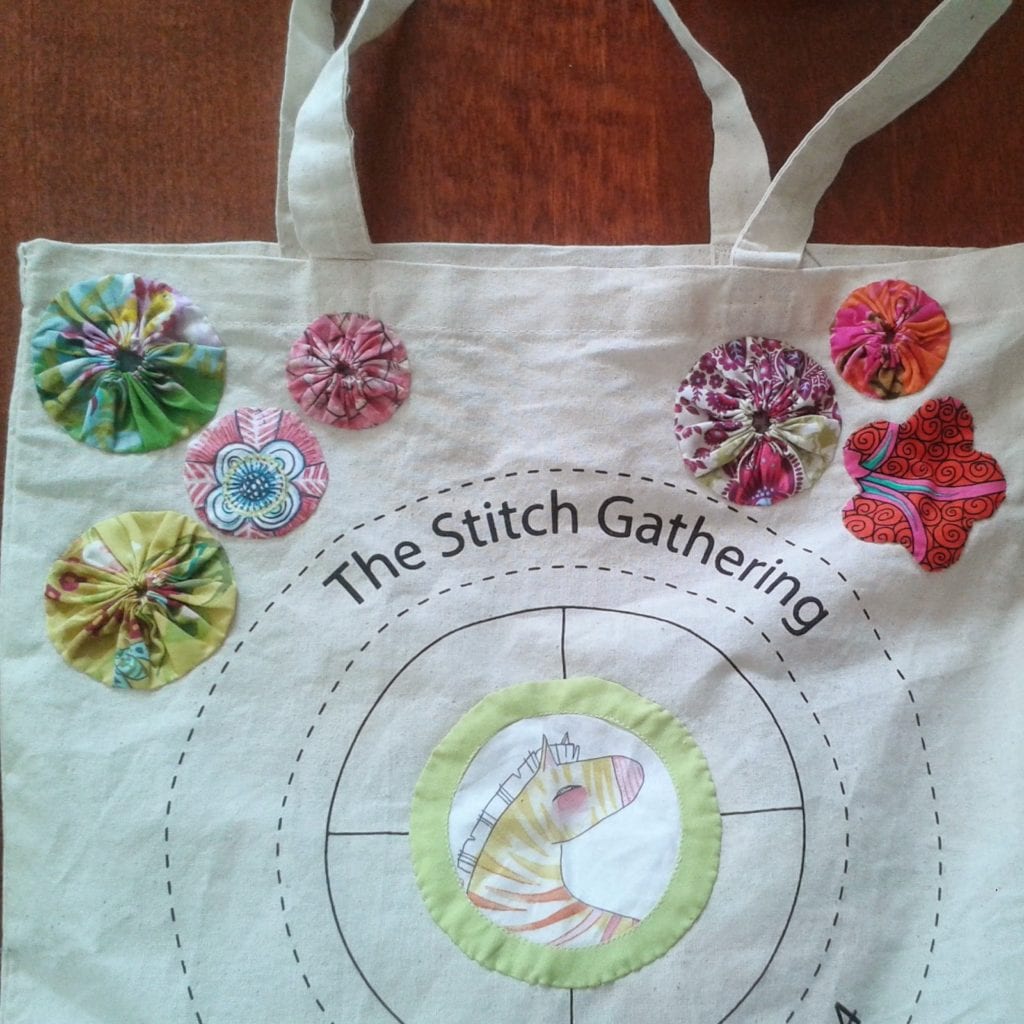
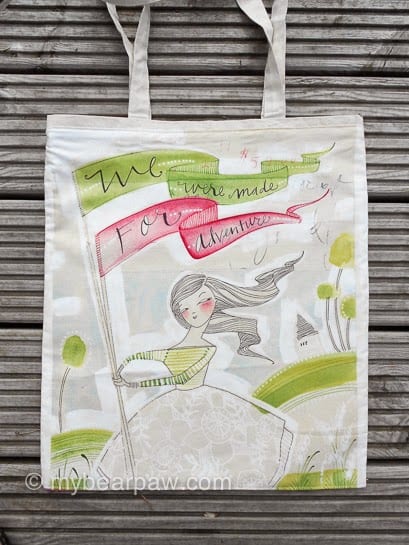
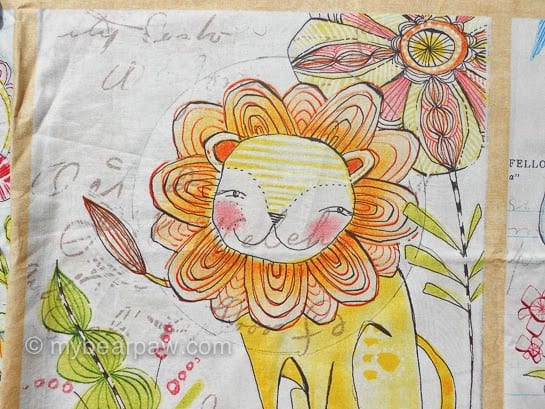
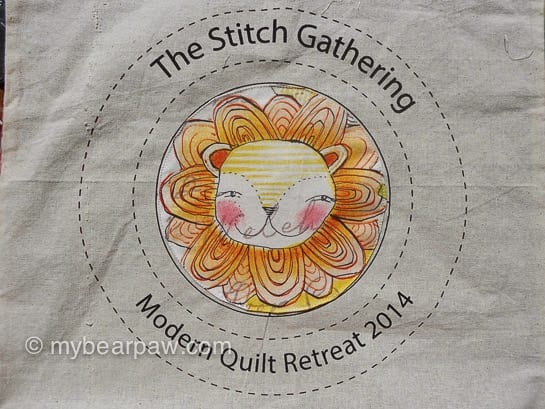
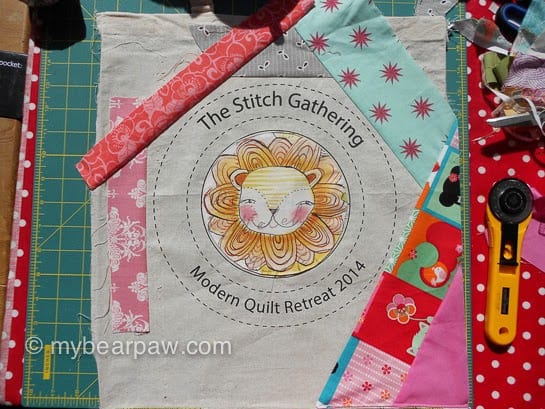
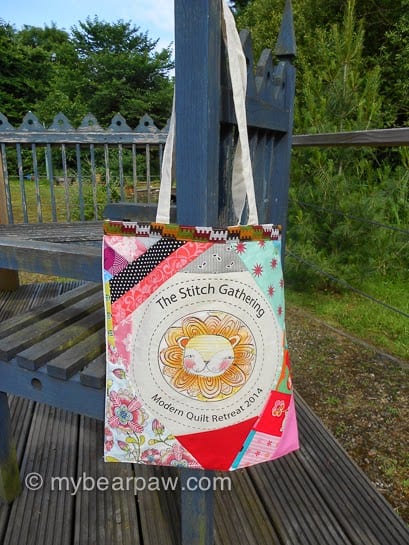
But I needed something special for the front. So I went back to my Cori Dantini stash and chose this lovely lion from the ‘Welcoming Committee’ panel.
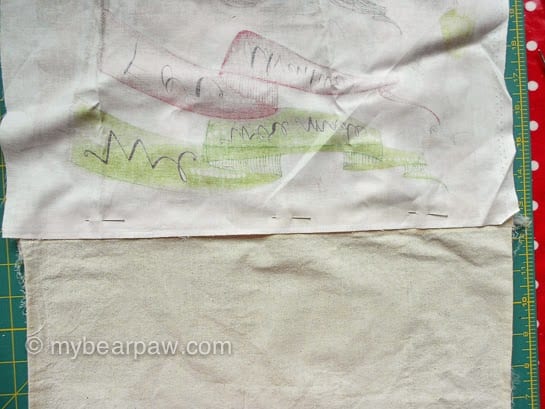
I found a tin that was a little bigger than the inner circle printed on the front of the bag and drew around this with my Frixion pen on to the fabric. I cut this circle out and then laid it onto a piece of scrap fabric (which was a lovely white pillowcase until my son put it in a wash with all his hippy clothes and it went a weird yellowy-grey!).

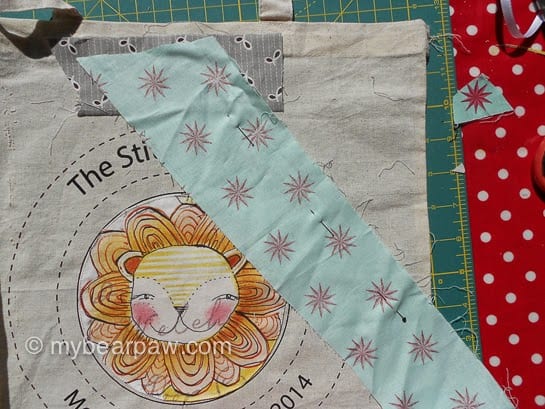
Using the lion fabric circle as a template cut out a matching circle from the scrap. With right sides together sew a quarter inch seam all the way around.
Cut out notches from your seam allowance, snip a hole in the middle of the scrap piece (making sure you don’t cut through the lion!) and turn inside out.
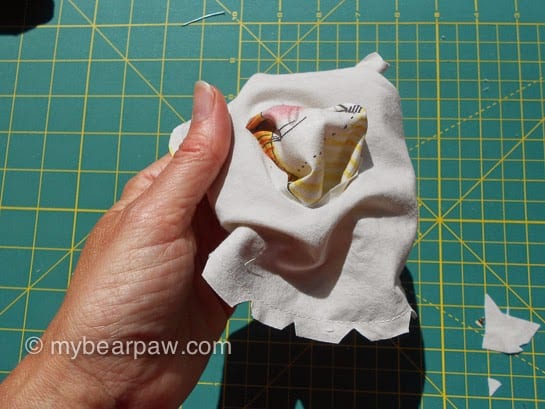
Press carefully, making sure all the circle is turned out, and then top stitch to the centre of the bag.
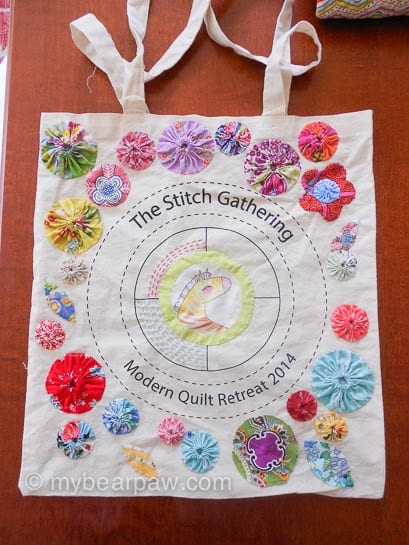
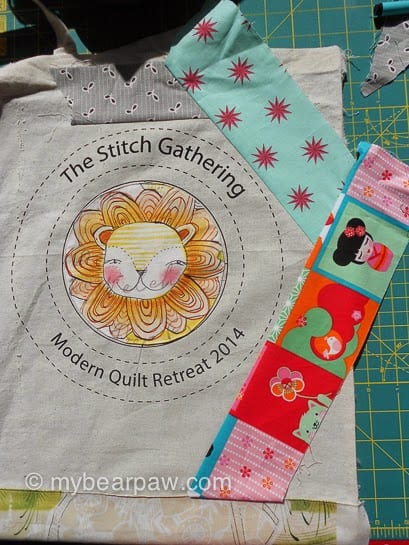
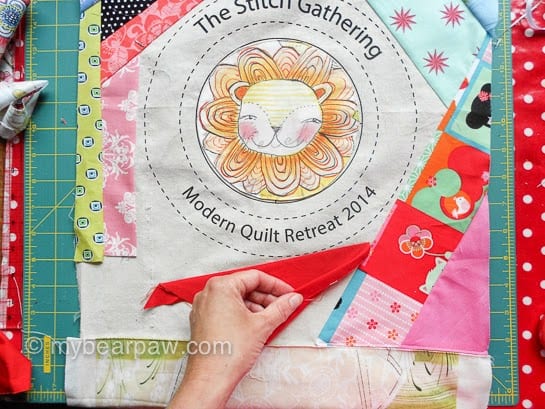
So I grabbed my scrap box and started sewing strips on in a ‘crazy
patchwork’ fashion, flipping them over and then overlapping the next one.
This does require a little forward planning or you end up boxing yourself into a ‘raw edge corner’.
But with a bit of jiggery pokery…
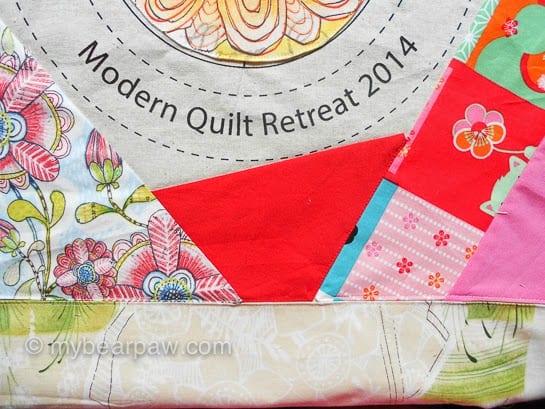
… and a bit of turning edges under and more top stitching…
…I managed to get everything neatly sewn. Including that lower edge which I turned under and butted up to the back along the bag fold line.
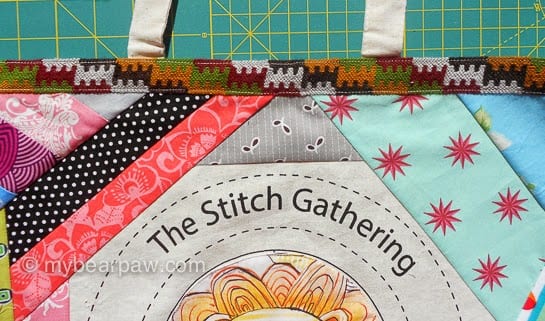
All that remained was to sew on this braid to cover the raw edges at the top. Beautiful braid also brought back from India for me by my boy (which kind of makes up for the pillowcase ruination!). And then just sew your bag sides back together, zig zag the raw edges, and turn right side out.
So 2 fully embellished Stitch Gathering Ticket Tote bags!!
Here’s the number 2 front (the fast bag – took me no more than an hour)…
… and the back.

I do hope you feel inspired to get started on your own bag now and have gained a few more ideas from this post. But I am also sure you will all have fantastic ideas of your own! And just like last year with the ticket quilt I will be amazed by what you all come up with! Really just do whatever you want – the sky’s your oyster (or something like that!)!!
If you’d like to join in the fun we still have a couple of tickets left for this year’s event. You can buy them here and you still have another week and a bit to choose your classes before they get divvied up.
Great inspiration for us Jo – I unpicked my whole bag last night and am looking forward to making something special for my partner.
Lovely ideas. I was going to take my bag apart so I am pleased to know that it can be done! Di x
Too funny…I'm thinking how in the heck did she do that second bag…of course…take it apart!:)
Another idea for doing that lion circle in the middle…my coworker said to cut the back piece out of fusible interfacing and sew it right side/fuse side together…slit the fusible…turn and iron on where you want it then stitch down!:)
Fantastic! I feel really inspired now:-)
All very cute :o)
Lovely bags. So wish I was going!
Wish i was going too!
Gorgeous bags. I especially love the front of the first one and the back of the second one. x
What great ideas! Wish I lived on your side of the world and could participate!
jjjjjjjjjjjjjjj
I can't wait to get started on mine…I'm going to hand stitch it when I go on holiday to France, it's going to be my little project. I'm so excited! PS I think the bag is a FABULOUS idea x
They're both wonderful!