Stitch Gathering 2017 Tickets – Quilted Postcards!!
It’s that time of year again, when the secret Stitch Gathering Ticket project I have been working on is finally revealed!
This will be our fifth event in October, so that means I have had to come up with FIVE different ideas for this so far – phew! Talk about making a rod for your own back (which is quite a violent metaphor now I think about it…)!
This year we are asking all our Retreaters to make a QUILTED POSTCARD, and then to swap it at the event with a secret partner (partner’s info going out next week!).
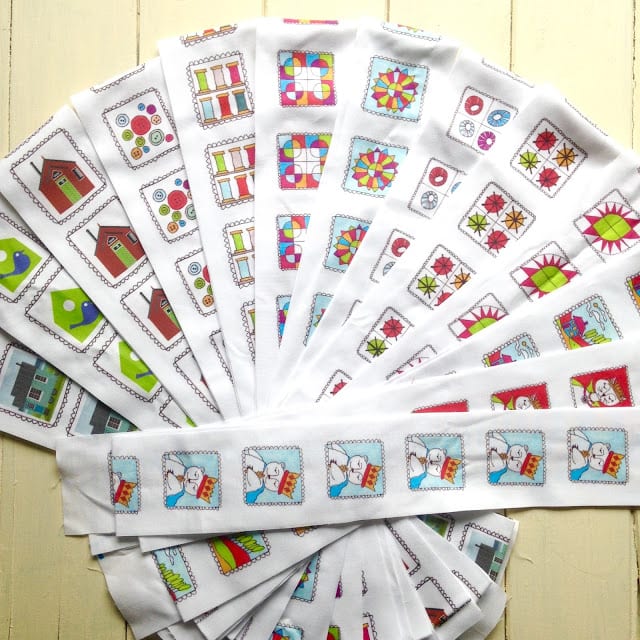
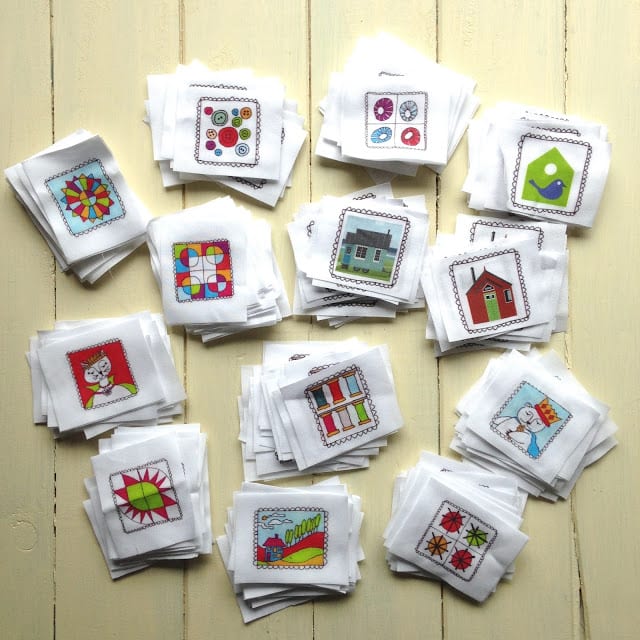
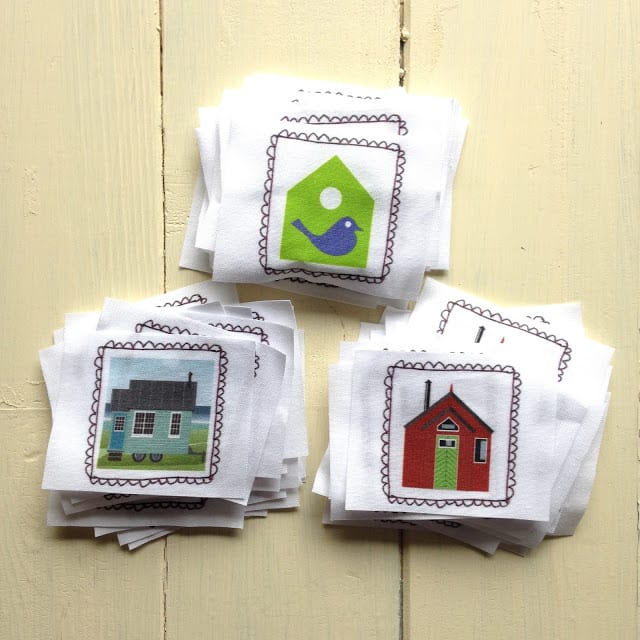
And to help you out with this very creative project we have designed and printed some exclusive (and rather cute IMHO!) fabric stamps!!!
Drawing these little stamps was such fun! I started off with a bear king and a cat queen (because stamps often feature the head of state and in my Stitch Gathering world these would obviously be bears and cats!). And then I drew a little landscape and some buttons and a patchwork Dresden plate.
Scanning my Sewing Room for inspiration I spied some of Aurifil thread so I included those too. Then I was starting to run out of ideas so I decided to feature parts of the four quilts that have been used as our ‘quilt of the year’ on our Stitch Gathering branding.
Then Jonathan got involved and offered some of his Tiny House designs! We also had a myBearpaw flower logo but part of that got cut off by the printing.
We got Spoonflower to print this for us, as they did with our Stitch Gathering Text fabric last year. Such a great service and with cheaper and quicker postage now, as they have a factory in Germany!
From last Friday the stamps and instruction letters started to arrive with our Retreaters and by now most of them should be there so I can spill the beans. Everyone received a random selection of three stamps.
As in previous years this blog post will cover some initial ideas for making your ticket project. Of course I expect our Retreaters to totally out do any ideas I have, as they do every year!
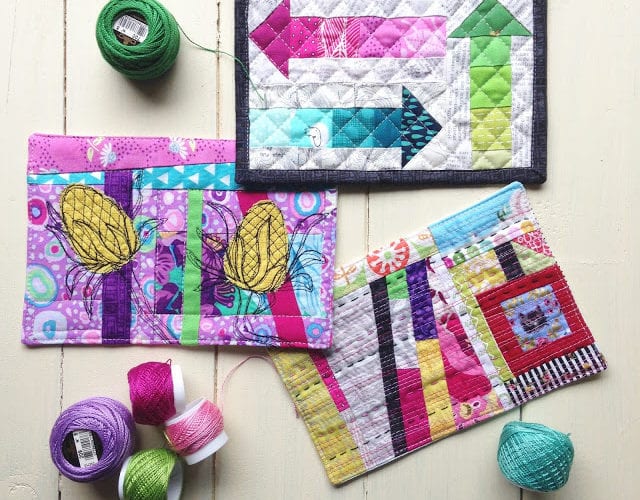
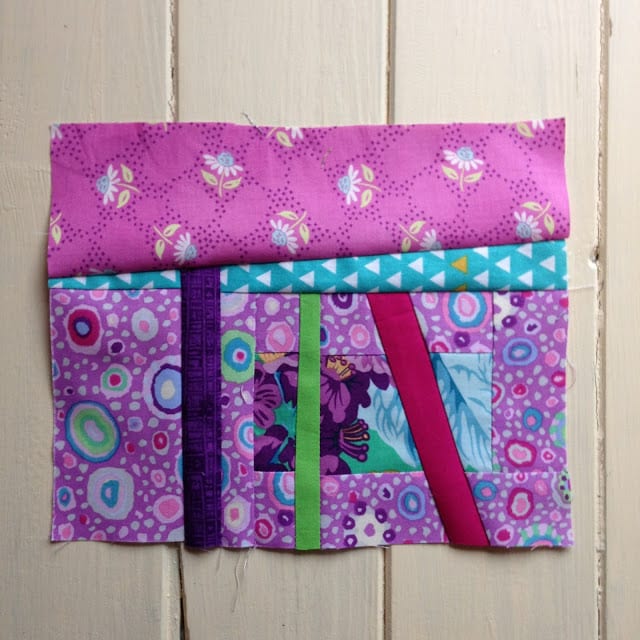
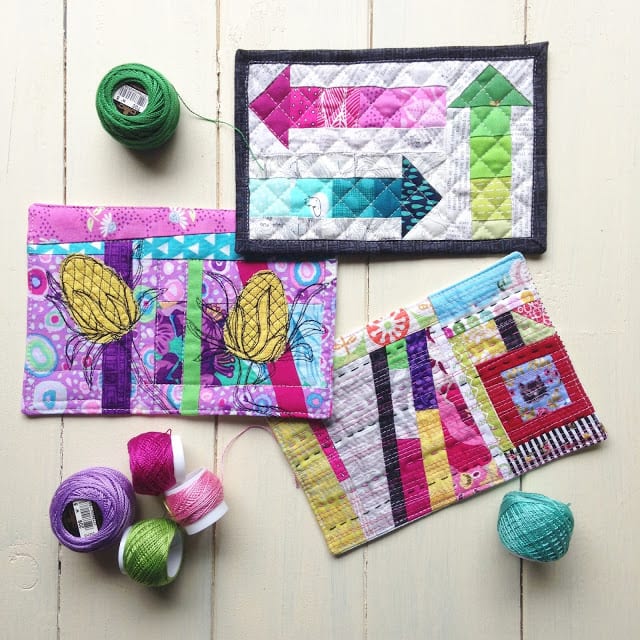
I started with a little bit of improv. I had a leftover block from a recent quilt I made with Kaffe Fassett (I can share this next month!). I sliced this up and inserted some strips and generally mucked it up a little!
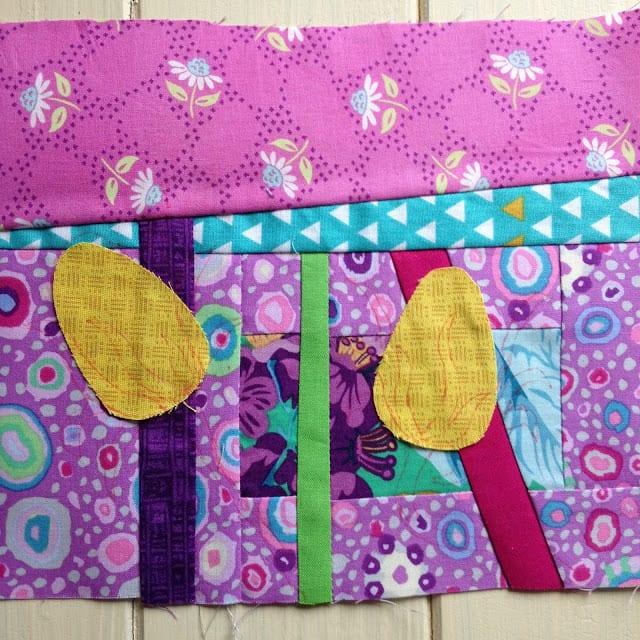
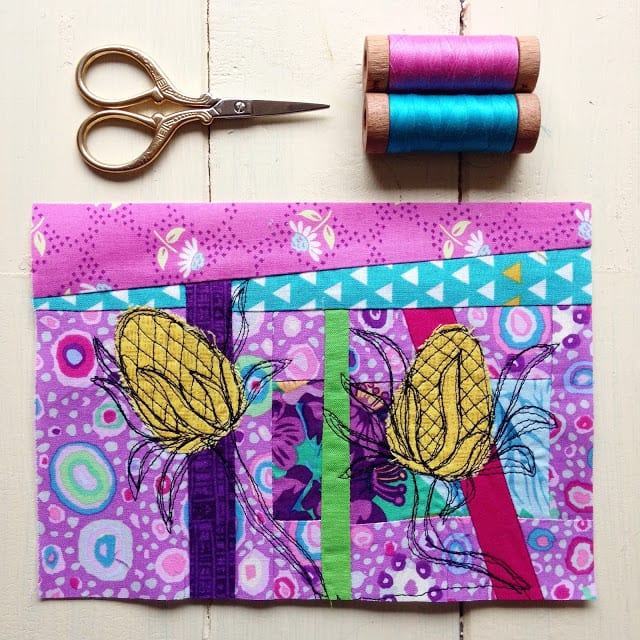
Then I added some yellow ‘teasel heads’, just lightly gluing them on. I drew around them to finish the teasel effect. It is based on this zippy pouch which had hand embroidered teasels over improv.
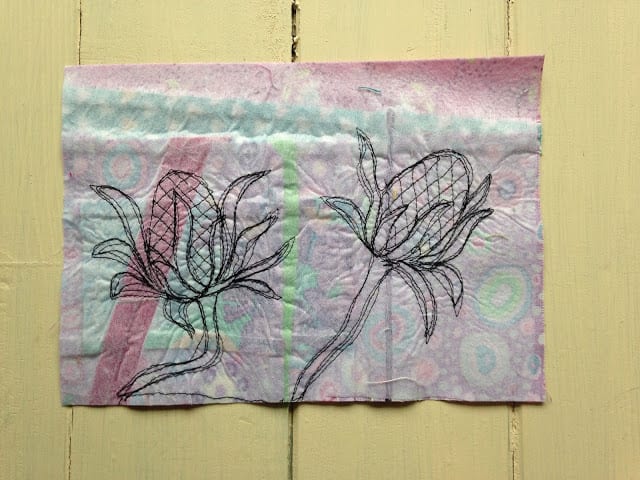
Then I had a try at free-motion embroidery! I’ve not really done this much before (I did some numbers once for an advent quilt), but I think all the FMQ I have done made it an easy start. Quite pleased with how this looks, though maybe I should have made the stems more prominent.
I think the back maybe looks more interesting!
I finished this first postcard by sewing a back on, pillowcase style, with RST, leaving a gap and turning inside out. I added some random straight line quilting including around the outside, close to the edge, to close the gap.
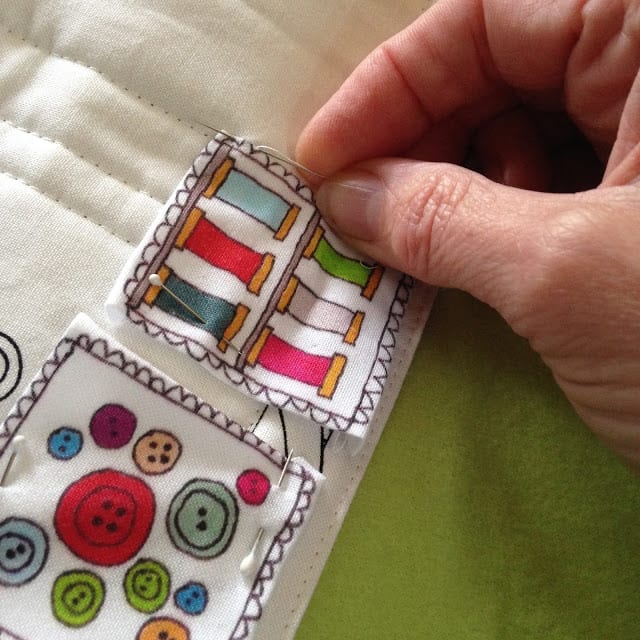
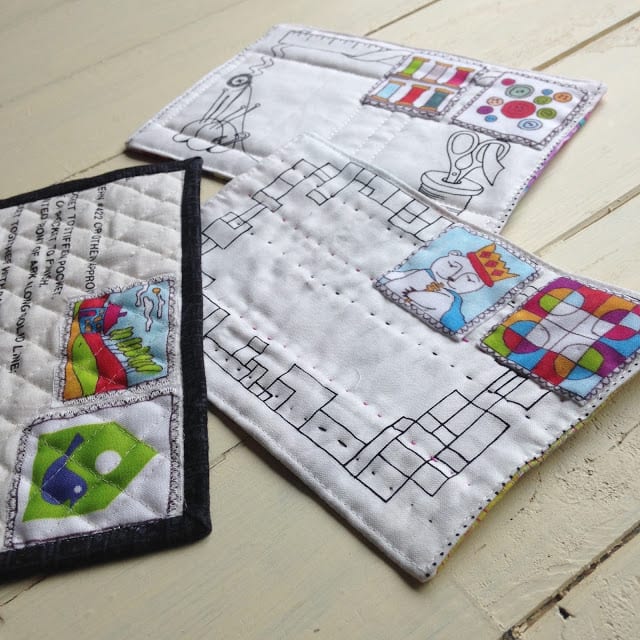
I then needle-turn appliqued a couple of my stamps to the back.
Then I moved on to some FPP.
I was trying to find a pattern that needed a 100% or 200% enlargement, which I would then ignore and just make a mini version of. I think this could work really well if you have a pattern like this already, perhaps in a book?
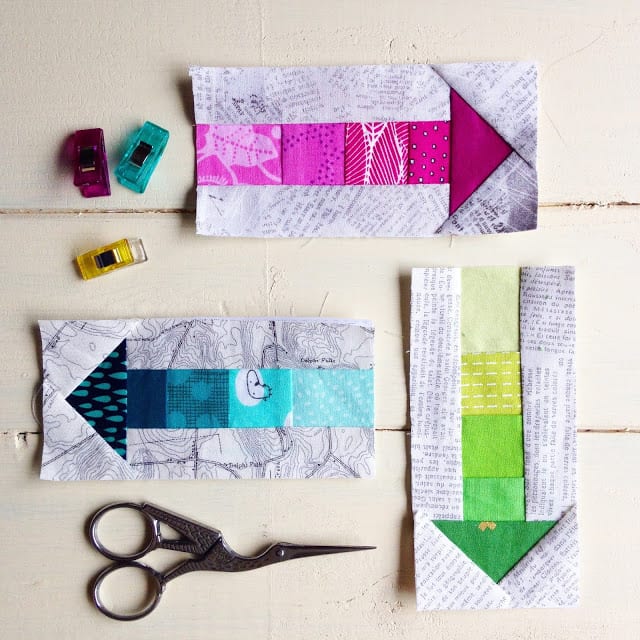
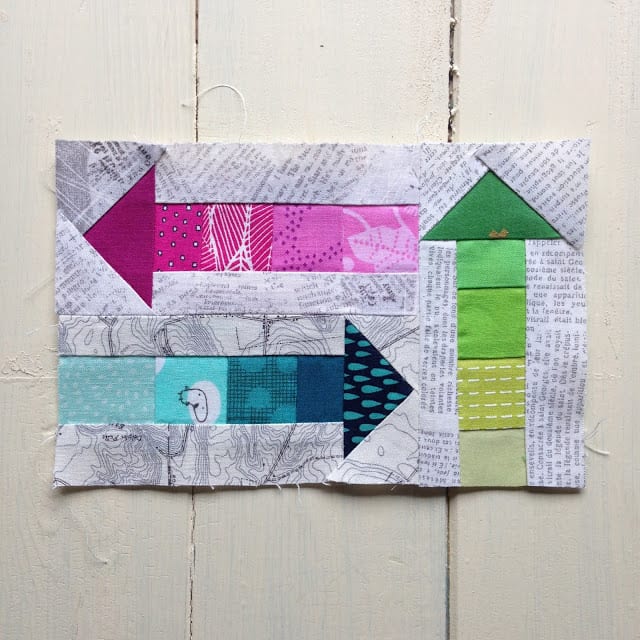
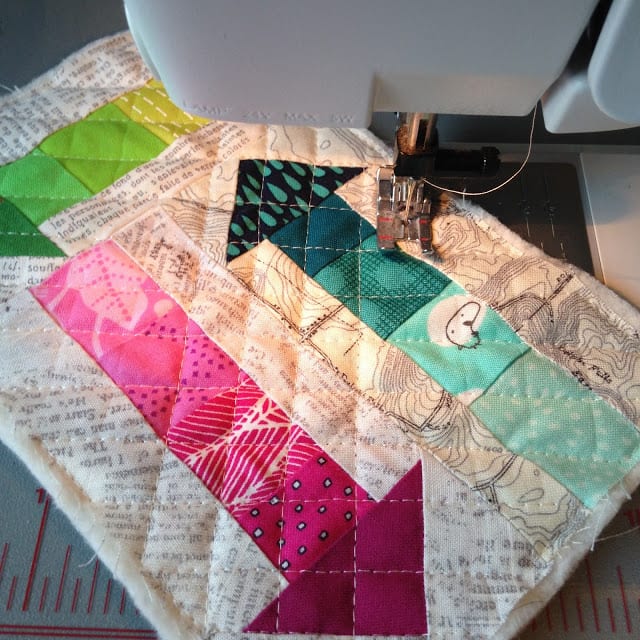
But after trawling through some back issues of Love Patchwork and Quilting I found these arrows as past of a Lynne Goldsworthy BOM block. The pattern was ‘actual size’ in the magazine and I realised that three of them would work perfectly. And I’ve always loved Lynne’s arrows!
So I chose a little ombre range of fabrics in three of my favourite colours, along with a low-volume background, and off I went! After a some decision making I opted for the layout above.
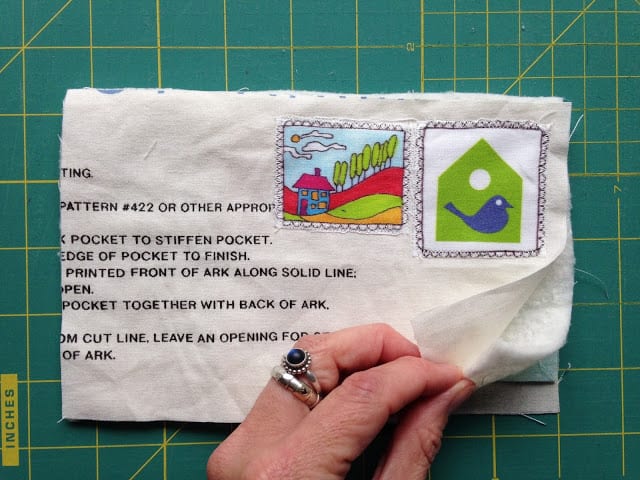
For the back I found some printed instructions from a fabric Noah’s Ark that I must have been hoarding for around 25 years! I used the machine to applique the stamps with a zig-zag stitch. This time I ‘layered-up’ as if it was a real quilt and used a little 505 to hold it while I added a half inch grid.
The lines are quilted with Aurifil 80wt.
I then added a thin single-fold binding (see my tutorial for this here) in a charcoal fabric.
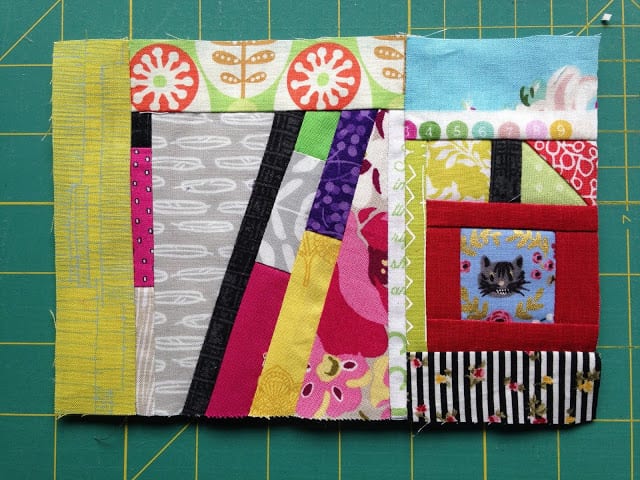
Next up was a little more improv, this time straight out of the scrap bag, along with a little fussy cutting.
I brought back some of the Rifle Paper Alice in Wonderland fabric by Cotton and Steel from QuiltCon and I haven’t used it yet. So I took a little Cheshire cat from it and framed it in red. I even included a little selvedge!
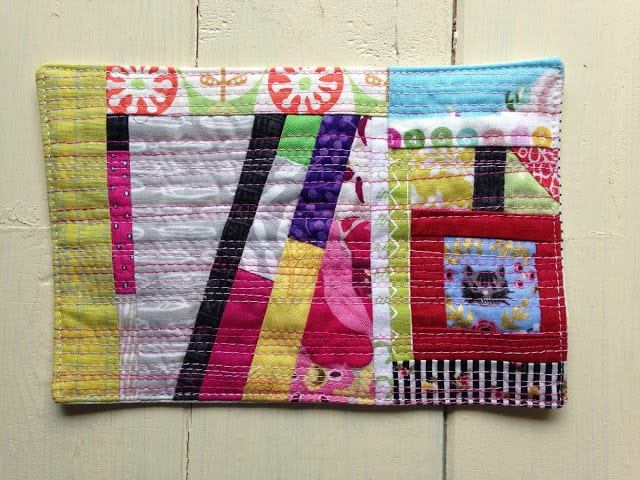
I then finished this the same way as the first postcard before tackling my usual matchstick quilting with variegated pink Aurifil and added hand quilting in perle cotton. Somehow the quilting has made that cat look a little sinister!
I needle turn appliqued a couple more stamps. to the back.
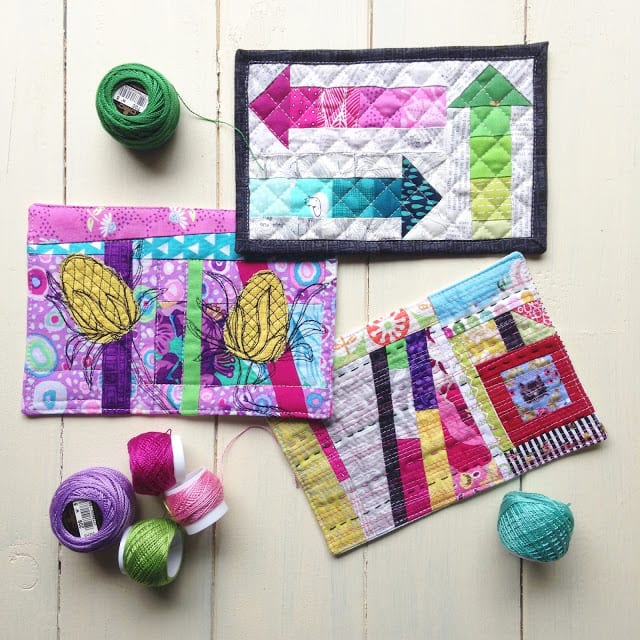
So here are the finished quilted postacrds!
And here are the backs. I used some printed quilt labels for the first and last ones. The hand quilting on that last one has appeared as lines ready for a message!
The idea is to write a message to your swap partner but I will keep these blank for now and they can be used as spares if necessary. They are all around 5 x 7in which is the maximum size we have asked for (anything between 4 x 6in and 5 x 7in).
I also asked that they be landscape in orientation, though having made a few now, I really don’t think that matters too much, so knock yourselves out retreaters!
So far the feedback from Retreaters has been very positive, and they seem to be relishing this new creative challenge – hooray!
Everyone’s finished tickets will be handed in at registration on the day of the event (to gain access obviously!), and then during the morning classes, my wonderful helpers will display them in the large conference room where we have our lunch so that they can all be viewed (like a mini exhibition!). Towards the end of lunch everyone will be asked to SWAP! They will then grab their postcard and go off to find their secret partners!
So watch out on social media for these little works of art appearing. I can’t wait to see what everyone does!

What a great idea Jo…..I can just see everyone scattering around to find their secret partner!:)
Fabulous idea and examples! Great fun! Also dangerous information about the German spoonflower manufacture ?
Wow, these are super fun and beautiful! x Teje
These are just fab, great ideas for presents too. x
Fab, ive heard there is a black narein the most collectable ones… *tuts* ?
The article has actually peaks my interest. This post couldn’t be written any better! Such a wonderful collection of Quilted Postcards.