
Bedding Plants QAL – Finishing Up
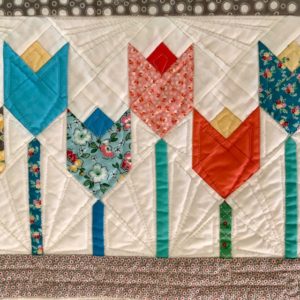
It’s time to put our flower rows together and finish our Bedding Plants quilt!
It’s very exciting to see this already happening in the Facebook Group and on Instagram and I am just delighted with how many of our ‘quiltalongers’ have managed to keep up and stitch all their rows.
In this post I thought I would talk about some quilting ideas plus tips for putting the sashing and borders on and even basting. But really it’s more to give everyone a couple more weeks to get their quilts/quilt-tops finished ahead of the link-up and big-prize giveaway in two weeks time.
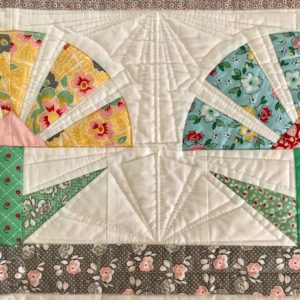
Sashing and Borders
Once all the rows are complete you may find that they are slightly different lengths. Though this is quite a complex quilt I did design it with beginners in mind and allowing background space at the ends of each row means you can trim away to match the shortest of your rows. With that in mind you may need to adjust the lengths of strips you cut for sashing and borders.
In the book the actual lengths for the ‘soil’ sashing and border strips are given but I have to admit that when I re-made the quilt for the second version I didn’t measure the strips but stitched them on and trimmed to fit. This is a slightly risky strategy and not one for a complete perfectionist as you can easily stretch the strips and end up with baggier areas. You should really measure the sides and cut the strips to the exact size then fold both into quarters and press to get guide points along the length. You can then match these points and pin along the whole length. This will make sure you stay on track and don’t stretch one or other of the fabrics.
However I am just too lazy for that and instead I stitch my lengths and trim to fit afterwards, but I take very particular care not to stretch as I sew. This works for me but I am very experienced so that does make a difference.
Basting
Once your borders are sewn your top is finished and it’s time for basting or layering-up. Now I have a long-arm quilting machine the days of crawling around on the floor are beyond me as that is all done on the machine by pinning the layers to ‘leaders’ which are attached to the frame rollers. This still takes time of course but not as much, it is easier and you are standing up!
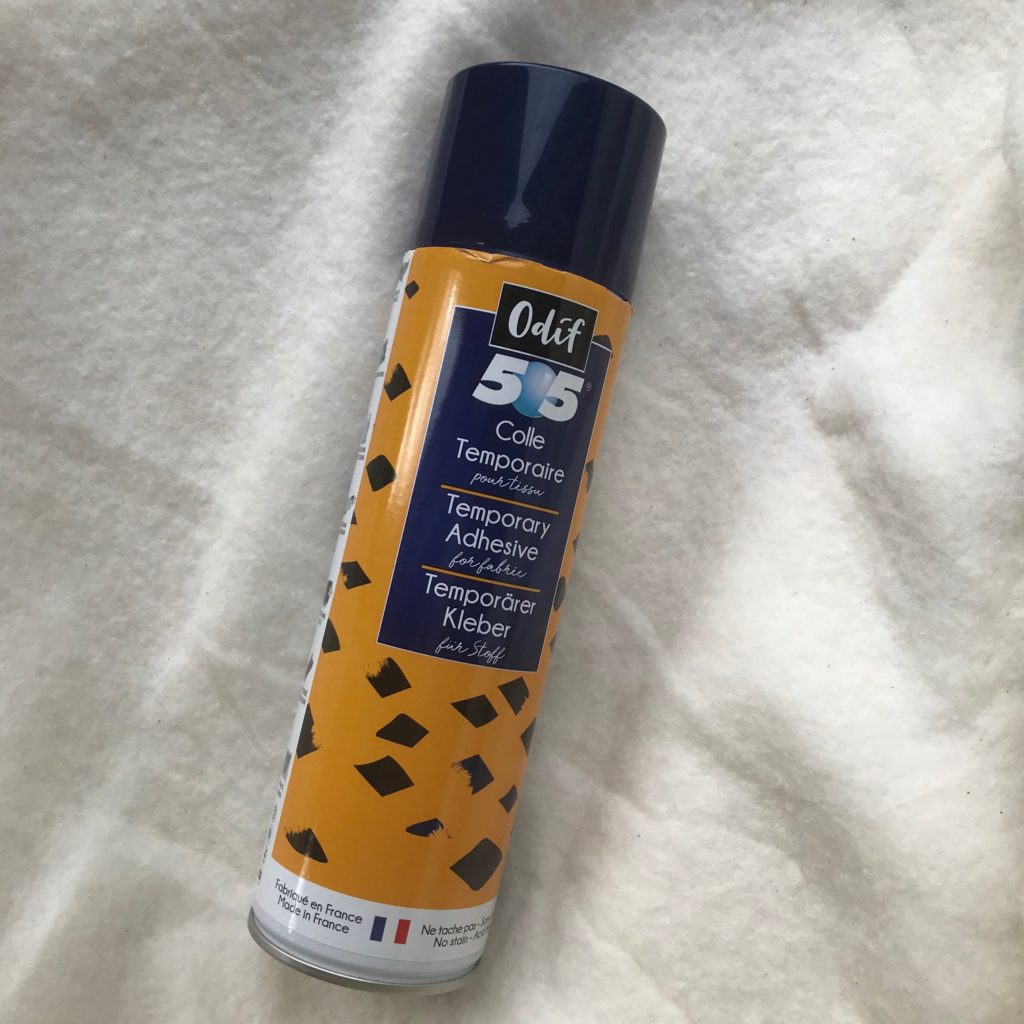
Before my Moxie came into my life I used 505 spray to baste my quilts and I thought it might be helpful to give you a low down on exactly how I went about it. I used the wooden floor of my sewing room to do this, which involved me moving some furniture and hoovering. I would then press the backing and the top. Pressing the top could take a while as stray threads needed to be removed at the same time and the whole thing checked over. I would then hoover again before basting. My backing and wadding/batting would be around 4″ bigger than my top.
Begin by taping down the wadding to the floor with brown packing tape at the corners and at the middle of each side. Lay the backing on top, right sides up and fold back one half. Spray the wadding before spreading that half of the backing over the wadding, smoothing it with your hands from the centre outwards. Repeat this with the other half of the backing. Once all smoothed and stuck put your iron on and press over the whole thing.
Unstick the packing tape, flip the whole thing over and re-attach tape at the corners. Lay the top on the other side of the wadding and repeat what you did with the backing including the pressing. I also attach a row of safety pins around the outer edge of the quilt layers, as if the glue doesn’t hold it is at the edges where it will give you problems. This method worked perfectly for me for many years but there are many other suggested ways to do this so do experiment for yourselves.
Quilting
Before the Moxie I did all my quilting on my domestic Janome MC9400 using free-motion quilting. I am very bad at straight line quilting. I really hate marking anything and following lines and so prefer to ‘draw’ my own designs. If I ever do mark straight lines (reluctantly and on something smaller than a full-sized quilt) I use a Hera Marker (a ‘creasing’ tool by Clover) as then at least I don’t have to worry about pen lines marking the quilt. I’ve also used the guide tool that attaches to the machine but again not very successfully, I am just not consistent enough!
I like a quick fun overall quilting patterns such as ‘mussels’, ‘spirals, flowers or ‘interlocking rainbows’. My advice is try whatever feels natural for you to doodle with paper and pen. FMQ takes many hours of practice and there really aren’t any shortcuts for this.
 However using a long-arm machine does make it easier as instead of moving your ‘paper’ under a fixed ‘pen’ you are drawing in a much more natural manner. I noticed this when I was helping on the Handi Quilter stand at FOQ and complete novices had a go on the Moxie and created patterns with ease from a standing start. From my experience of teaching FMQ that doesn’t usually happen with FMQ on a domestic machine!
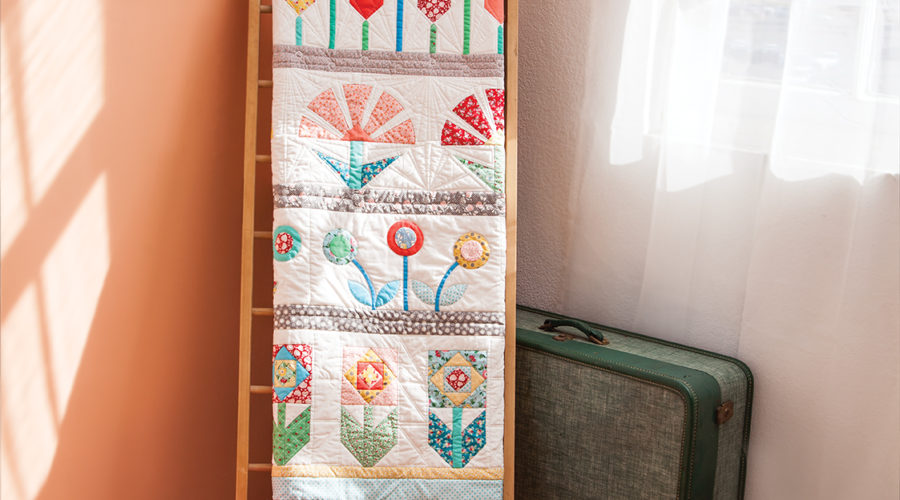
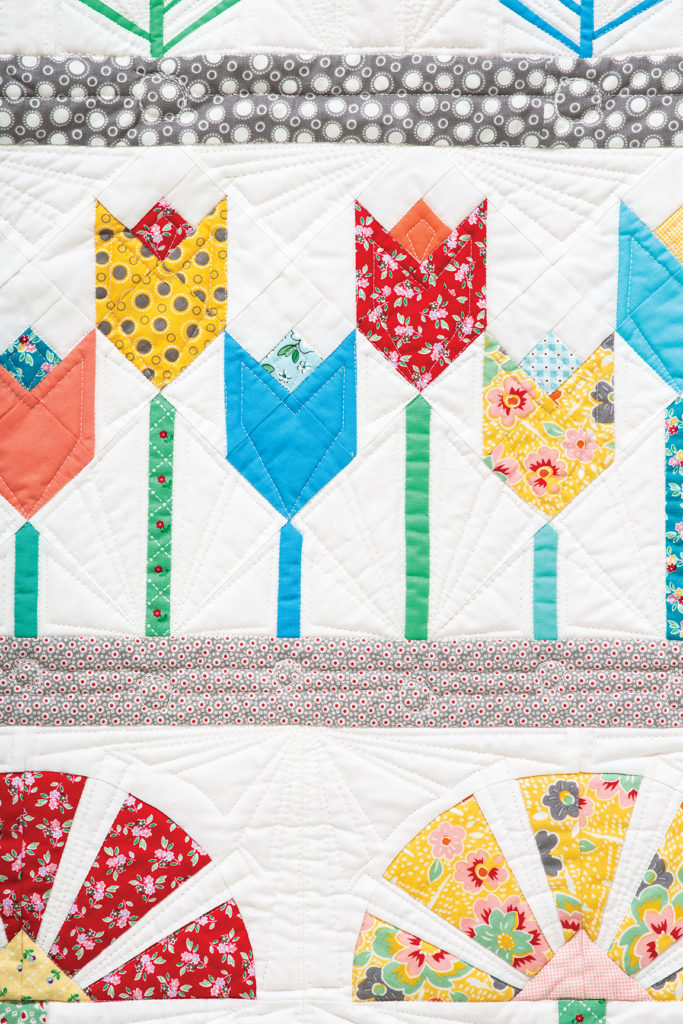
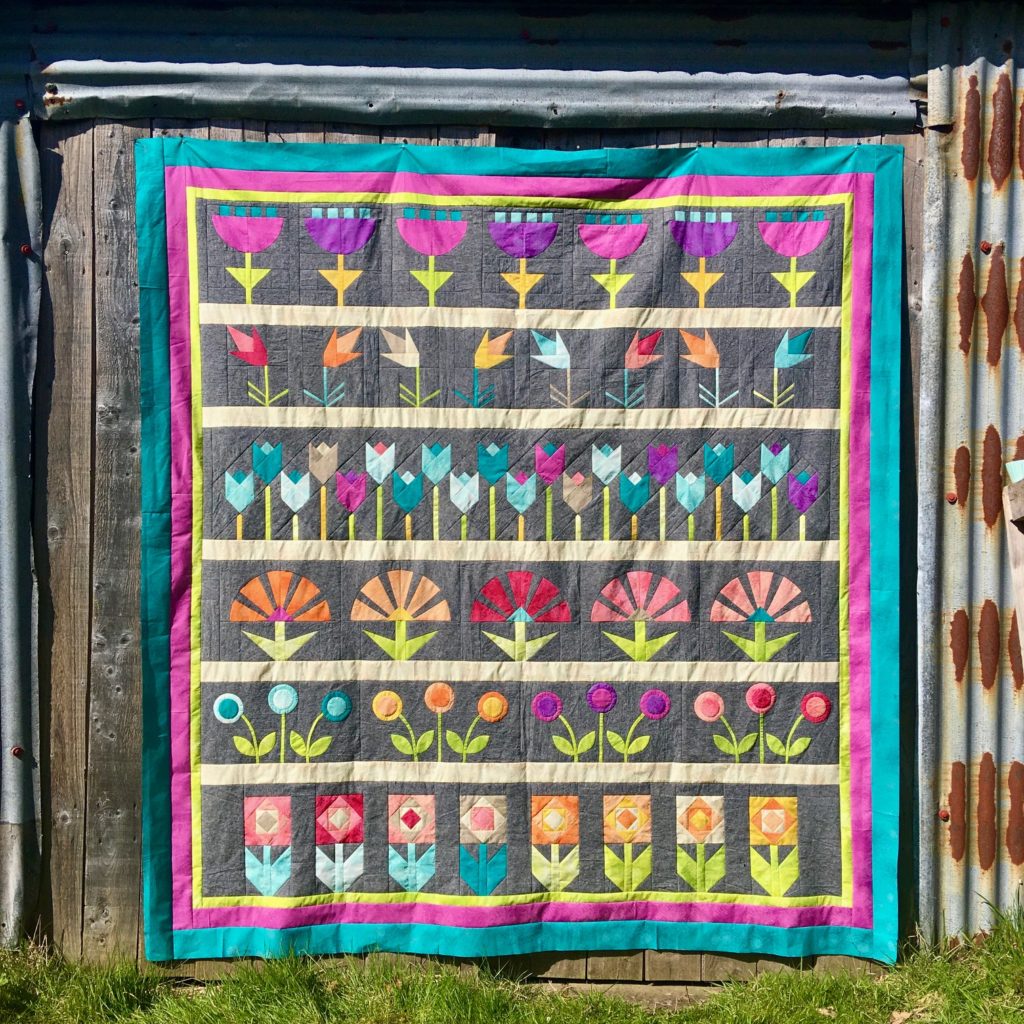
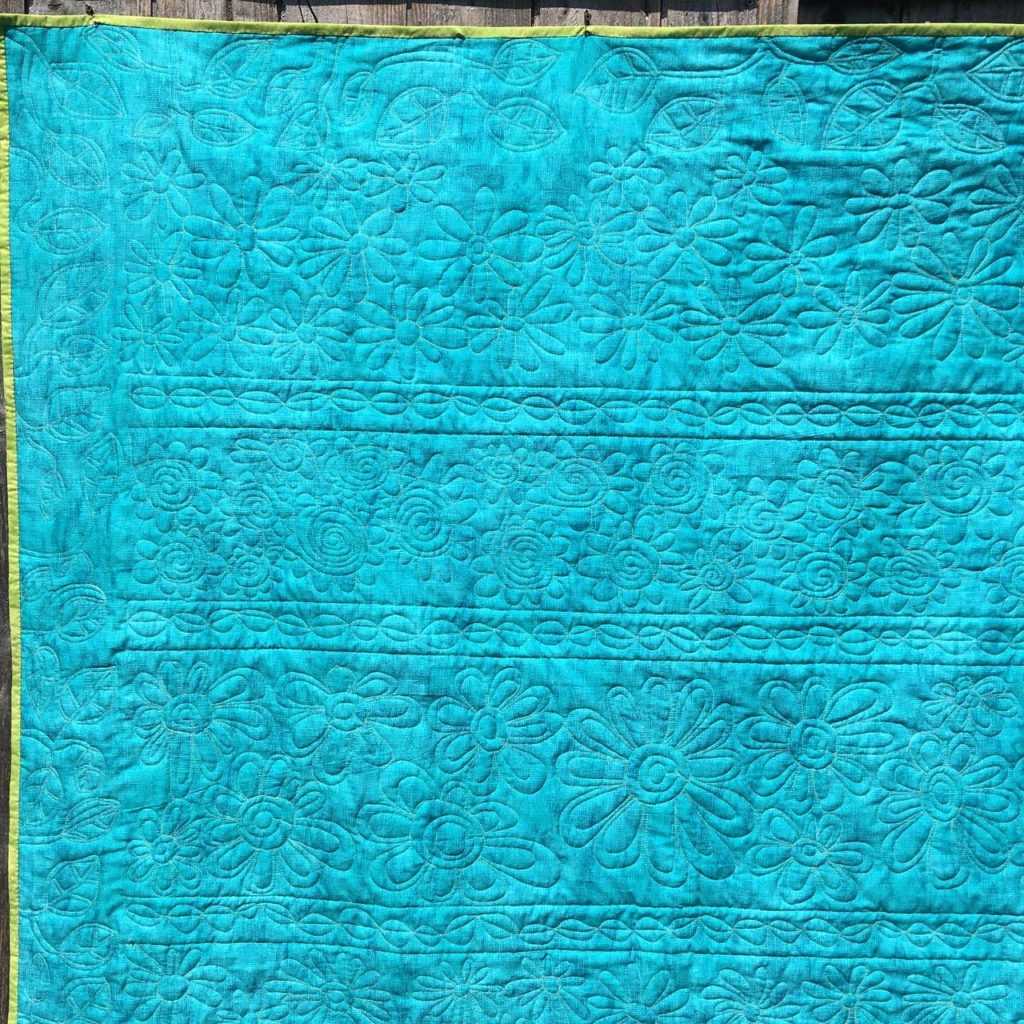
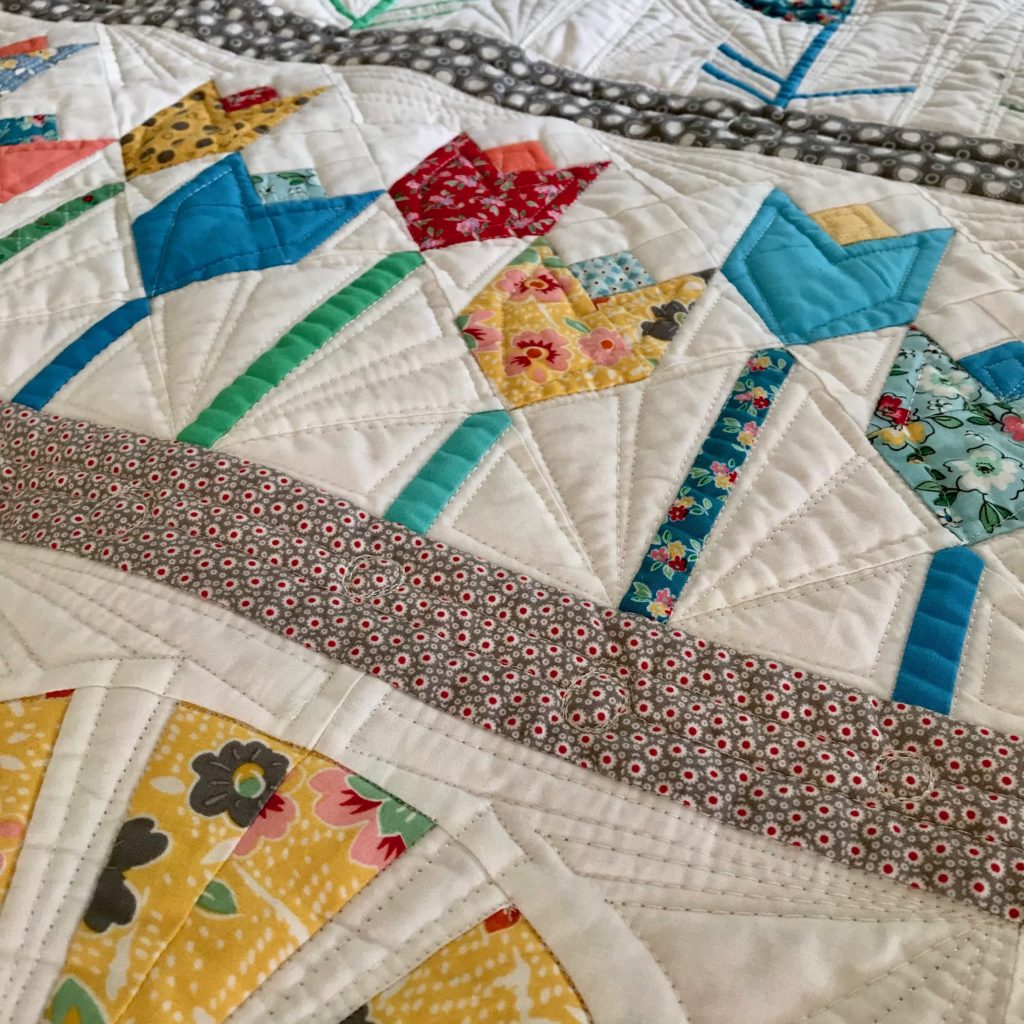
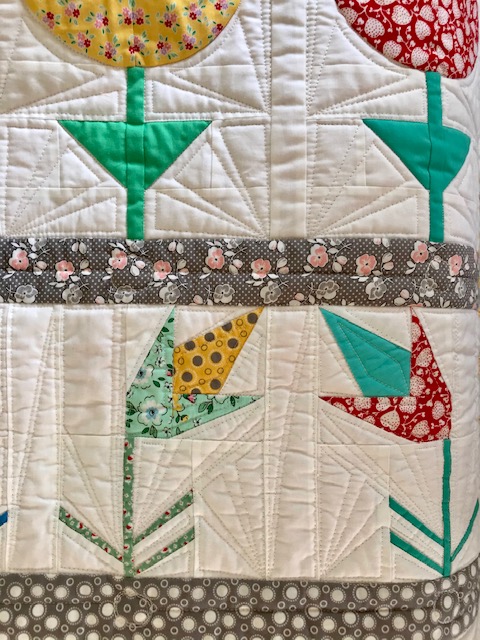
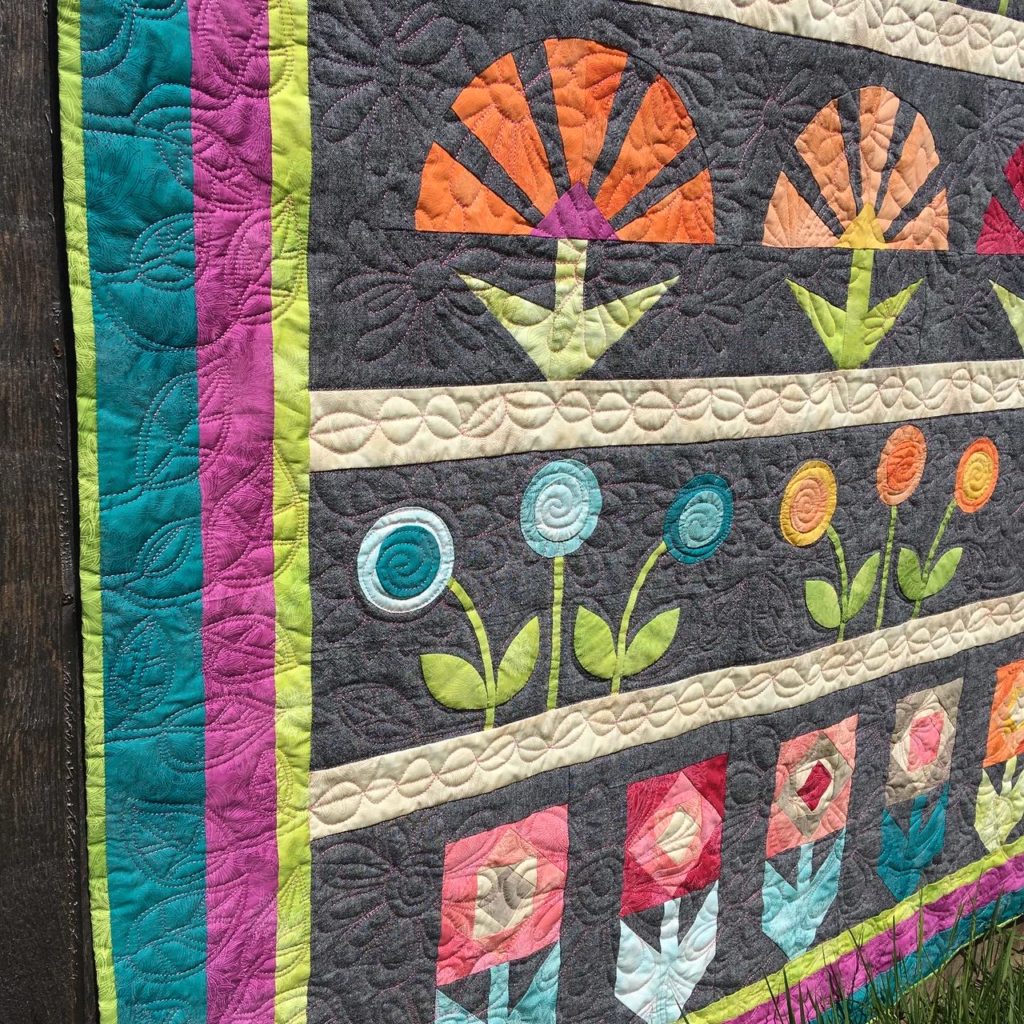
The original version of the Bedding Plants quilt was quilted by my friend Kelly Orr on her Handi Quilter long-arm. Kelly used rulers to make these angled patterns in the background to stunning effect. I now really appreciate the skill it takes to do this (now I have a long arm for myself!). I also LOVE the way she created ‘seeds’ under each flower. I tried to emulate this when I quilted my new version but instead of quilting straight lines between the seeds (which I thought I would mess up) I just quilted a whole line of joined up seeds.
I decide to quilt different types of FMQ flowers over the rows using continuous patterns. By now you will have realised that I like things to be speedy and efficient and I don’t want to be stopping and starting with threads and having to knot and thread them all through the back afterwards. But I also wanted to do more than an overall pattern on the whole thing, so I used different flowers over the flower rows and then used one of my favourite designs, ‘trailing leaves’, over the borders. This meant that I could stop and start at the edge rather than in the centre (meaning the binding would cover the thread ends).
How do you decide on a quilting pattern? That’s one of the most frequent questions I am asked and my answer is very personal and not relevant to everyone.
I try to make it as easy as possible for myself but without becoming too boring. For FMQ I have a range of favourite ‘go-to’ patterns but each one can be subtley addapted to give endless variations and keep me interested.
If you don’t like or can’t yet do FMQ then walking foot quilting is your solution and there are so many ways to do this without just creating grids and straight lines. If you don’t already have it then Jacquie Gering’s book ‘Walk’ is a must-have. I would often encourage my beginners to use a wavy line rather than a straight one for their first quilt as it is far more forgiving.
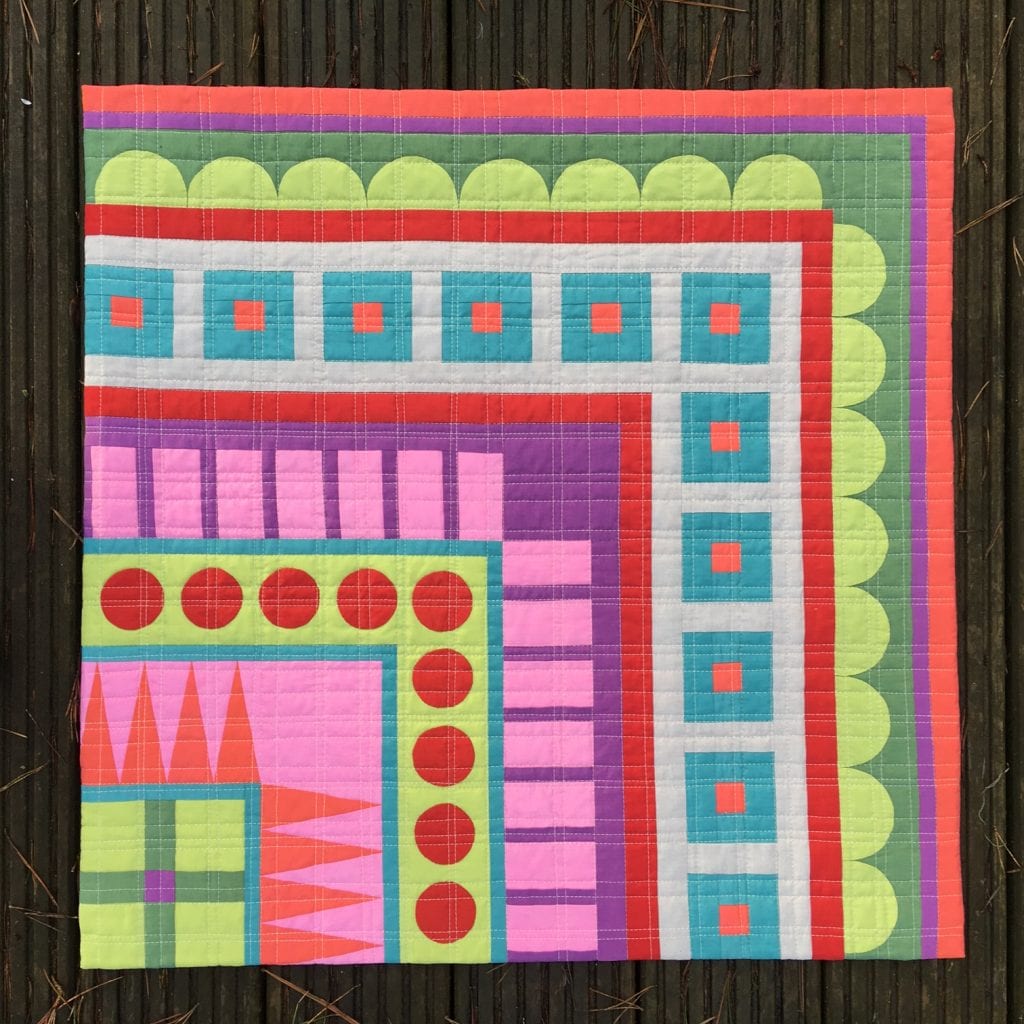
Now I have the Moxie I am actually starting to quilt with straight lines as I don’t have to mark them! The long-arms have a ‘channel lock’ which means the machine can only move side to side and not backwards or forwards (this can also be used vice versa). I am planning to use this for what I call a ‘random plaid’ (see my Medallion Quarter below) on my new Free Bird BOM quilt so watch this space!
Of course your other alternative is to hand quilt. I adore hand quilting, finding it soothing and relaxing. I would have loved to have hand quilted the original quilt but unfortunately time was against me. I also find hand quitling is a little hard on my over worked hands and only do it on smaller projects now. But I do think the effect would be spectacular on this pattern if time and hands allow.
I hope this has given you a few pointers and some inspiration to help you finish your quilt. But do please feel free to ask any questions in the comments below.
The next QAL post will be the link-up post where you can share your finished quilt/quilt top and be eligible to enter the grand prize draw! Even if you have finished a small version of the quilt or a finished quilt project you can still share it and enter the draw.
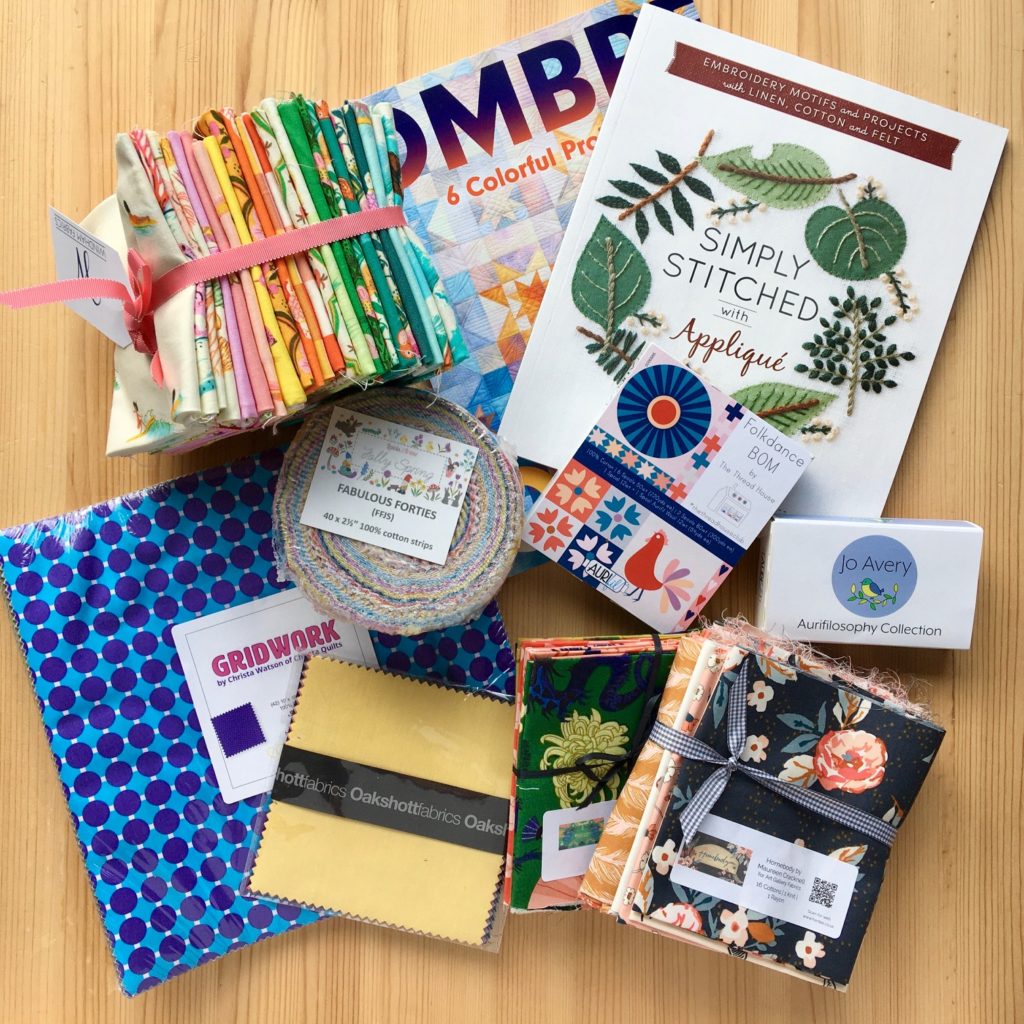
Here’s another look at the massive haul you could win! More info in the last QAL post in two weeks time.
Thank you for so much information & all I have to do now is attach my borders & then start quilting. As I don’t do social media, I don’t know what others look like yet & am worried about sharing mine, as it is all scraps from over 40+ years of quilting. I’ve had so much fun with this & think mine will definitely be a keeper. Take care & hugs.