
Patchwork Pony Sustainable Sew Along Part 3
Welcome to part 3 of the Patchwork Pony Sustainable Sew Along! And for this last tutorial post we will be taking our ponies and unicorns to the grooming parlour!
If you are not at the embellishment and accessory stage yet then that’s absolutely fine, there is still plenty of time. Please do sew at your own pace and relax.
Please check out the:
part 1 post here and
part 2 post here if you haven’t already read them.
First of all some important housekeeping. A few days back I was alerted to the fact that a page of Dala Horse templates (belts and centre hexagon) were missing from the pattern!! I am SO SORRY about this. They dropped off at some stage of completing the final draft and I didn’t notice. I have now reloaded an updated version of the pattern for all new purchases but that obviously doesn’t help those of you who have already purchased the pattern. So do please download this missing page, by clicking on the link below, if you think you may make the Dala Horse in the future:
However this is also a problem for those of you who have bought the pattern but have not downloaded it to your device yet. When you go back to the download link in you confirmation email it will no longer work! So please email me [email protected] and I will send you the updated pattern.
Again HUGE apologies for this inconvenience! I will now attempt to distract with a lovely image of this week’s new pony…
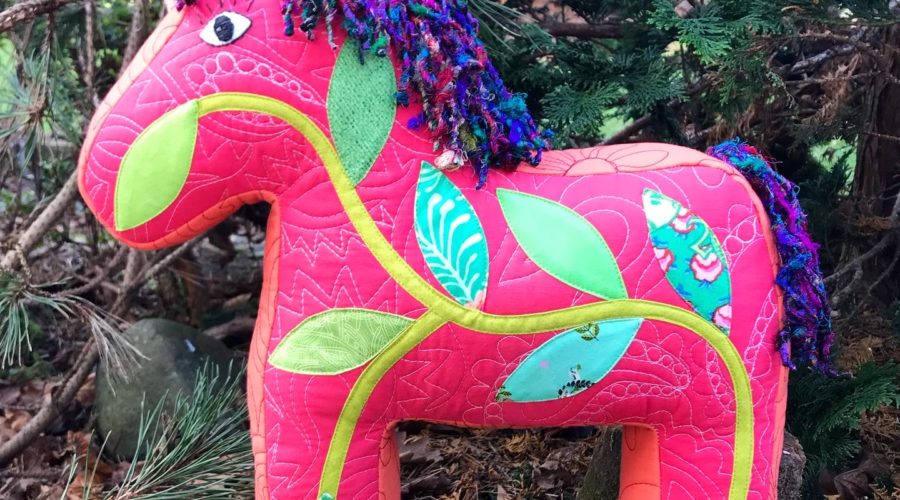
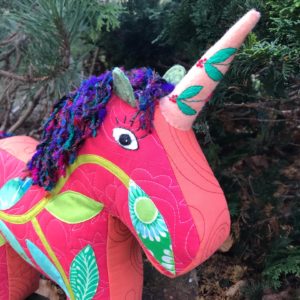
I am calling him Spirit of the Forest Unicorn and he is definitely magical and very sustainable.
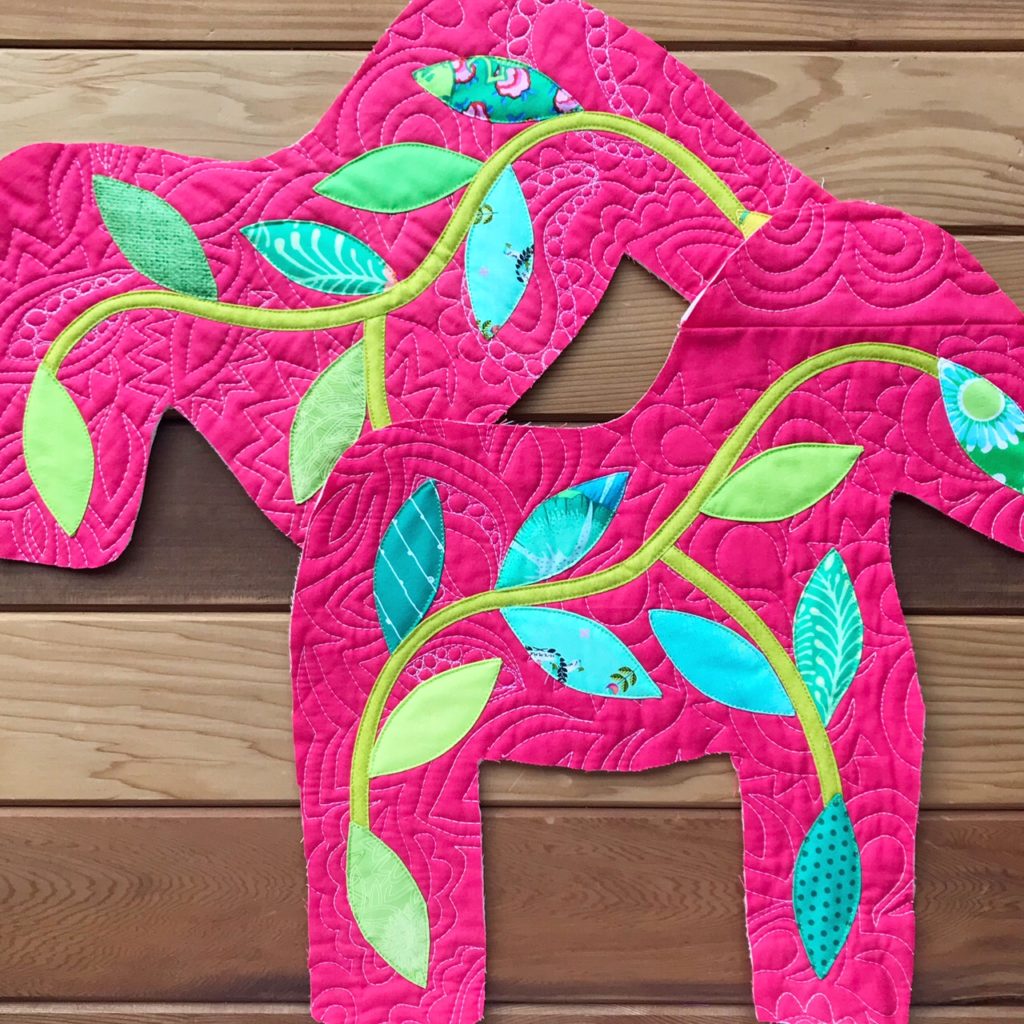
 I found some class sample panels of FMQ designs from when I used to teach this and managed to cut out both pony sides from one of the panels (with a little piecing – yes this image does show the top of the head missing on one side prior to that!). I cut them a little bigger than the pattern and then added the ‘tendrils’. The Tendrils Technique is a turned edge machine applique technique I have been teaching since 2017 and basically involves using the card and foil method to prepare the leaves so that the edges are turned under, a bias tape stem, a very neat top stitch and a way of turning under the leaf points when you get to them. I don’t have any tutorials available for this at present but maybe one day.
For years I have used this mainly for pouches but it has worked so well on this pony and is such fun to do that I may experiment with it on other things. All the leaves came straight from my scrap bucket.
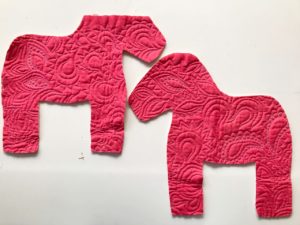
 I used the other panel for the gusset, cutting three strips from it and piecing them together to make the required length. This is the first time I have sewn the pony with a quilted gusset and I have to report that it is more tricky than a non-quilted gusset, but still possible. I really like the effect of the FMQ stitching on the gusset so it was worth a little swearing as I went around!
So with the latest pony body complete it was time to tackle the main events of this third post: mane, tail, horn and eye!
I always start with the mane and for this nature loving pony I wanted something a bit special and I also wanted to experiment for the sake of this post. I was thinking of cutting up some of hubby’s old T-shirts but then I remembered this ball of recycled silk that my son had bought me back from Nepal about 10 years ago.
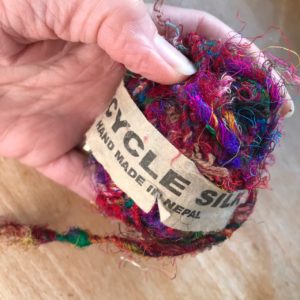 This is my eldest son, Felix, who now lives in Sweden and who spent about 6 years travelling all over the world mainly India and South America. He often brought me back textile treasures from his journeys and some of them have been patiently waiting for exactly the right project! I thought these vibrant multi-coloured silks would be perfect for the Tendril pony and set about making my ‘wig’ as instructed in your pattern. This is well covered there with step photos so I am not going in to too much detail here.
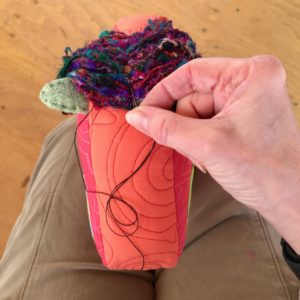
When it comes to sewing the wig on I like to sit with the pony clamped between my legs as shown above.
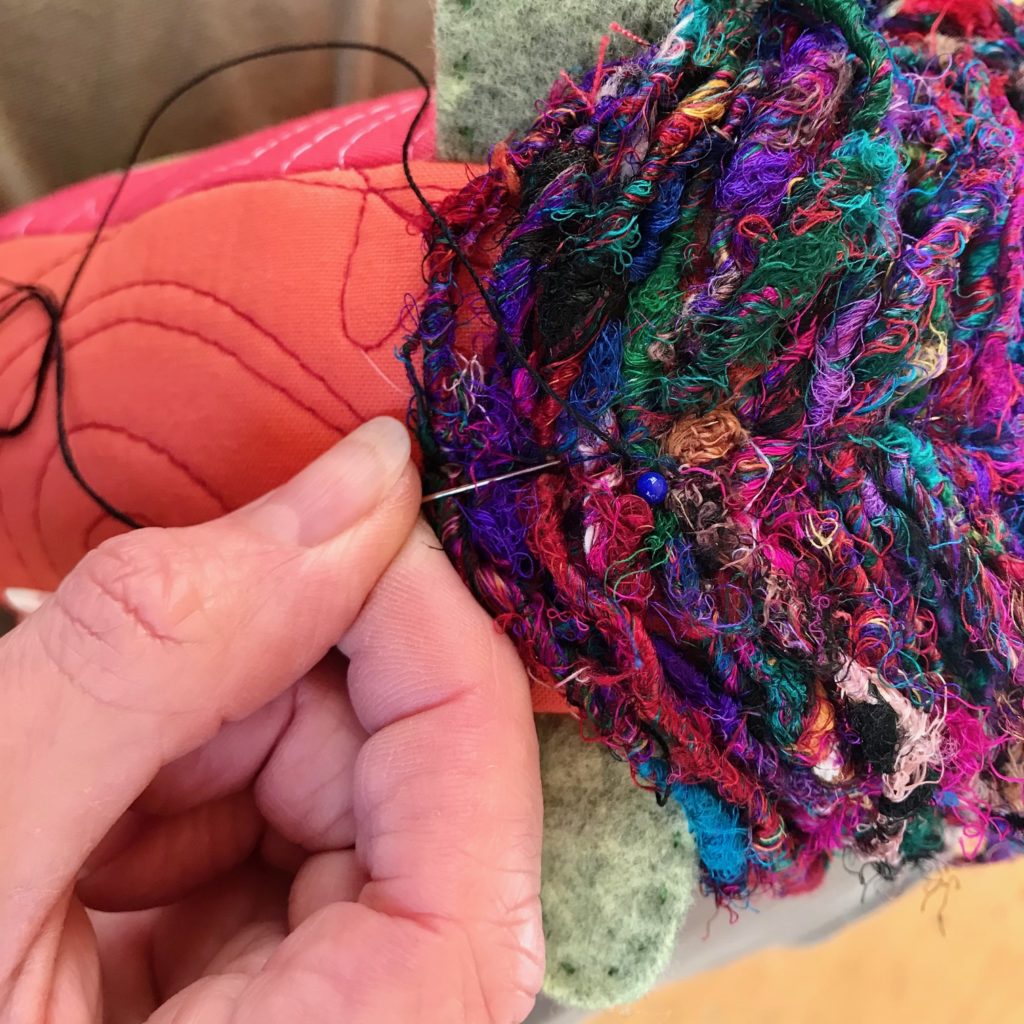
When using yarn for the mane I would sew the wig on using the same yarn and a darning needle. But when using thicker material like this silk that won’t work so I used Aurifil 12wt cotton in black to blend in the best.
 TIP: Use pins with large brightly coloured heads as it is easy to lose then in the mane and forget to take them out afterwards!
The tail is stitched with the same thread/yarn but is really just one big stitch repeated 5 or 6 times.
Normally I would now trim my mane and tail before moving on to the eye and horn but because I had an idea for a fun ‘reel’ on Instagram I left this till I’d finished everything else and filmed a quick video (check out Instagram later today to see if I managed another reel!)
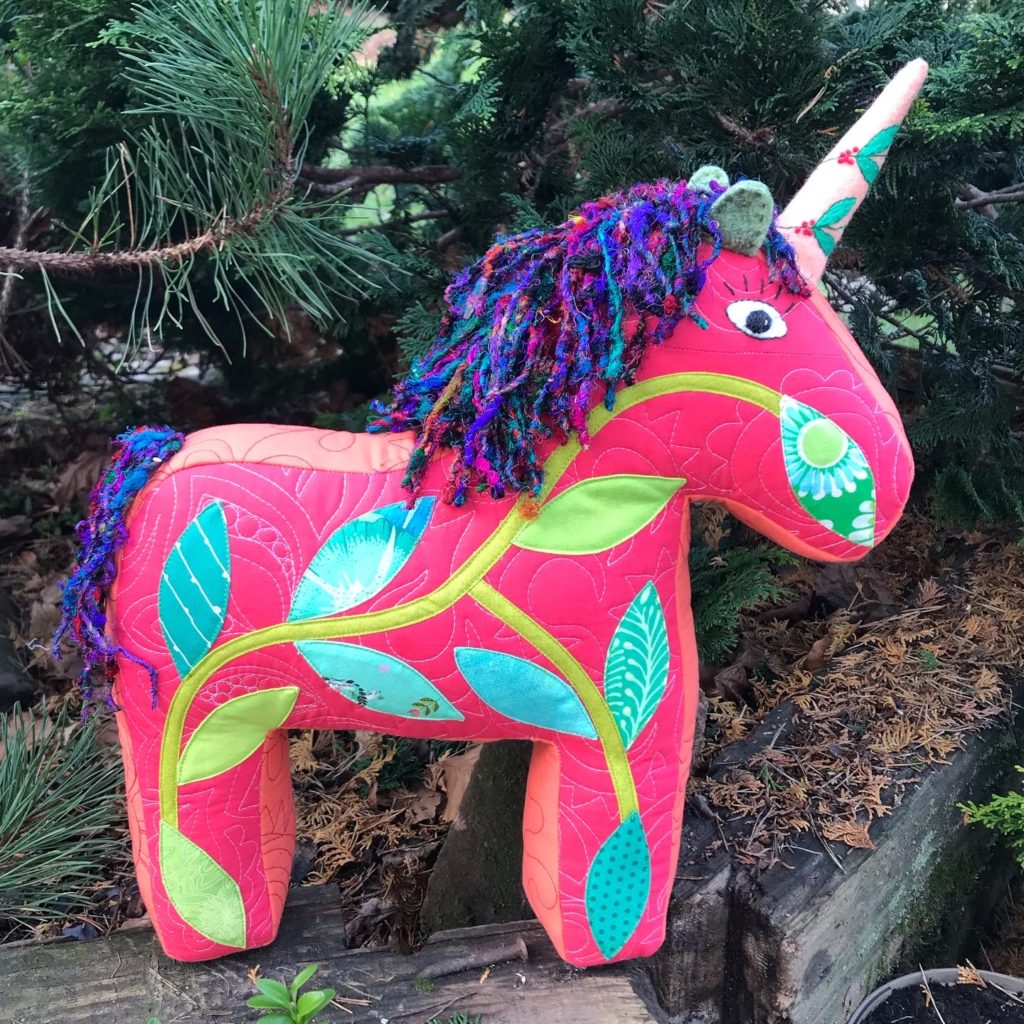
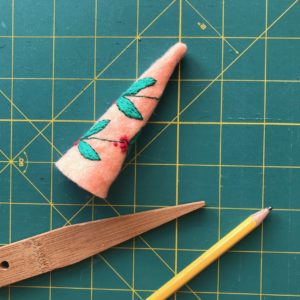
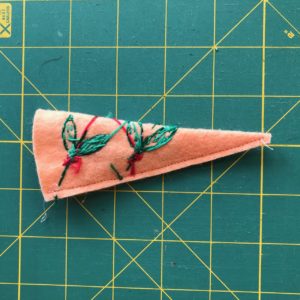
This pony had to become a magical creature and so I added a horn. But I wanted to re-enforce the nature message so I embroidered the felt horn with leaves and berries prior to sewing it together.

You will find it helpful to trim the pointy end before sewing together as shown above.
 Use the tiniest seam possible (I used 1/8″) to sew up the felt horn. It is extremely fiddly to turn inside out! Take your time and edge it out a gradually at the top. You can use a pokey tool as shown. I sometimes use a blunt pencil too.
Once stuffed (which you will need to do this patiently with tiny amounts of stuffing at a time) it’s ready to be sewn on. I have actually included this in the video tutorial for today which deals with sewing on the eye.
But before you watch that I wanted to take a look at the different placement and sizes of the eyes on my ponies so far.
 The original Dala Horse had quite small eyes and when I recreated him for the first sustainable pony I didn’t pay much attention and just cut and stitched an eye without too much thought. Later when I started to make more of these for the updated pattern I looked in more detail at the original eye and went back to outlining the white felt with a black back stitch (eyeliner!) and adding a white highlight too.
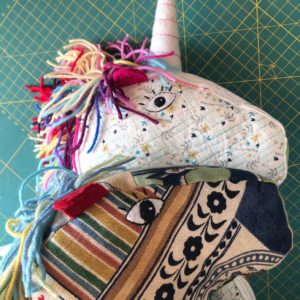
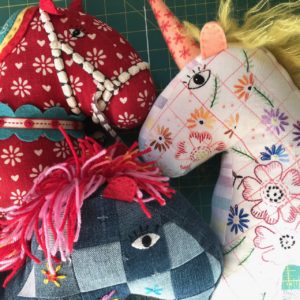
The placement of the eye differs between horizontal like the denim pony and aligning with the pony’s head as in the embroidered unicorn (above left). The other difference I’ve noticed is between the size of the pupils as shown above right. As I create these eyes organically each time these slight differences add to the pony’s personality.
I’ve seen lots of beautiful pony eyes amongst all the fabulous versions on Facebook and Instagram so you just carry on and sew your eye any way you like. However if you want it to look more like my eye then have a look at the video below.
I hope that was helpful!
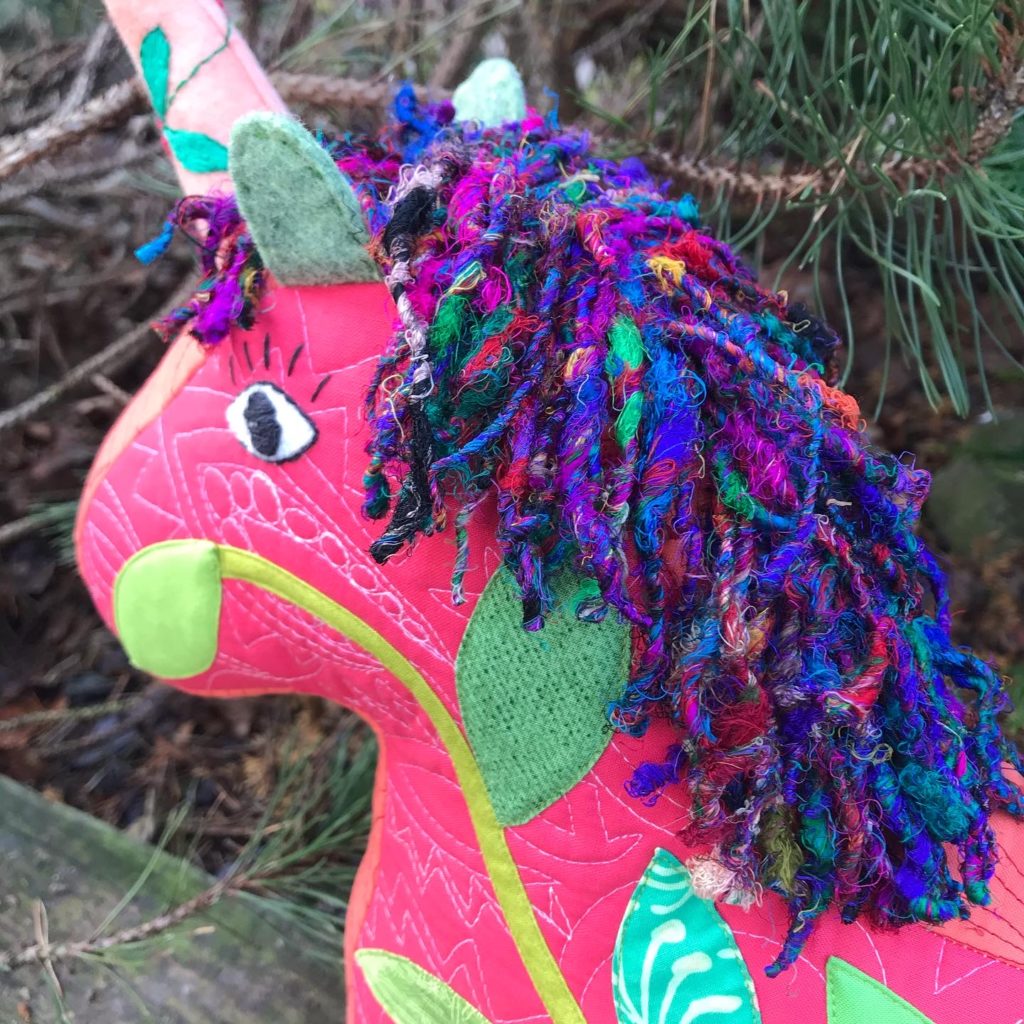
I am smitten with the Spirit of the Forest Unicorn and especially his mane and tail which look like fabulous dreads and really suit his ‘tree hugging’ message!
Let’s have a look at some other gorgeous manes that have been created in the last week. All photos taken from Instagram with makers names below.
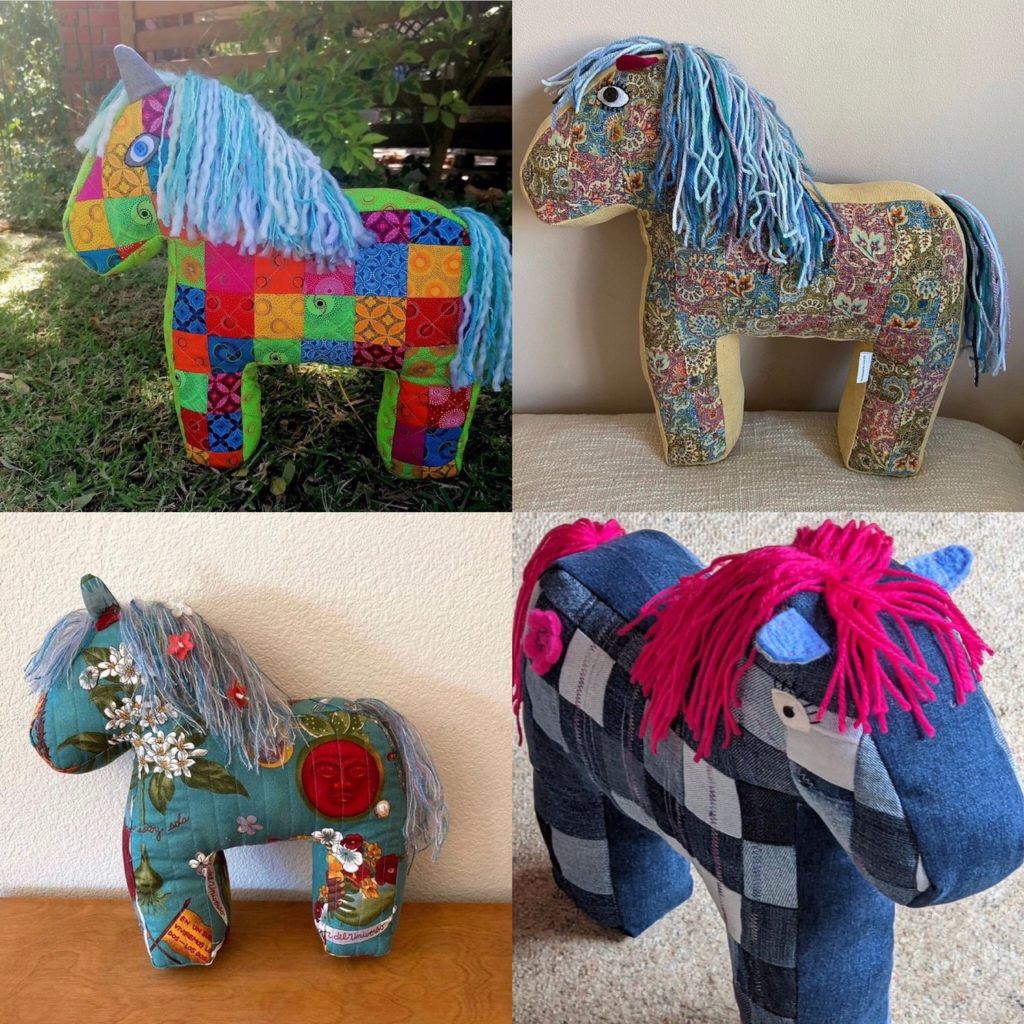
(clockwise from lop left, @barbs_the_sewing_bee, @julieda1, @amyjakobs, @spiced_coffee)
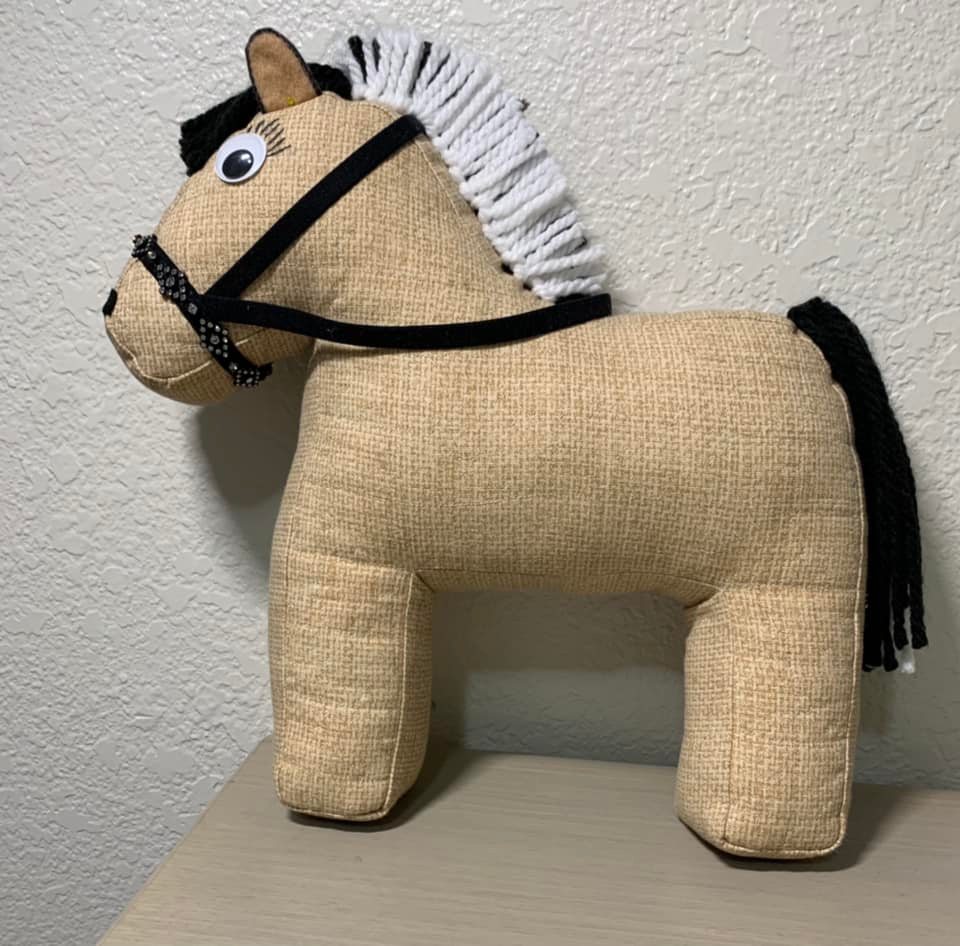
And from the Facebook Group here are a couple of really imaginative manes. This first one from Kathleen is just gorgeous! She made her version as a depiction of a Fjord Pony which has a stand up mane just like this!
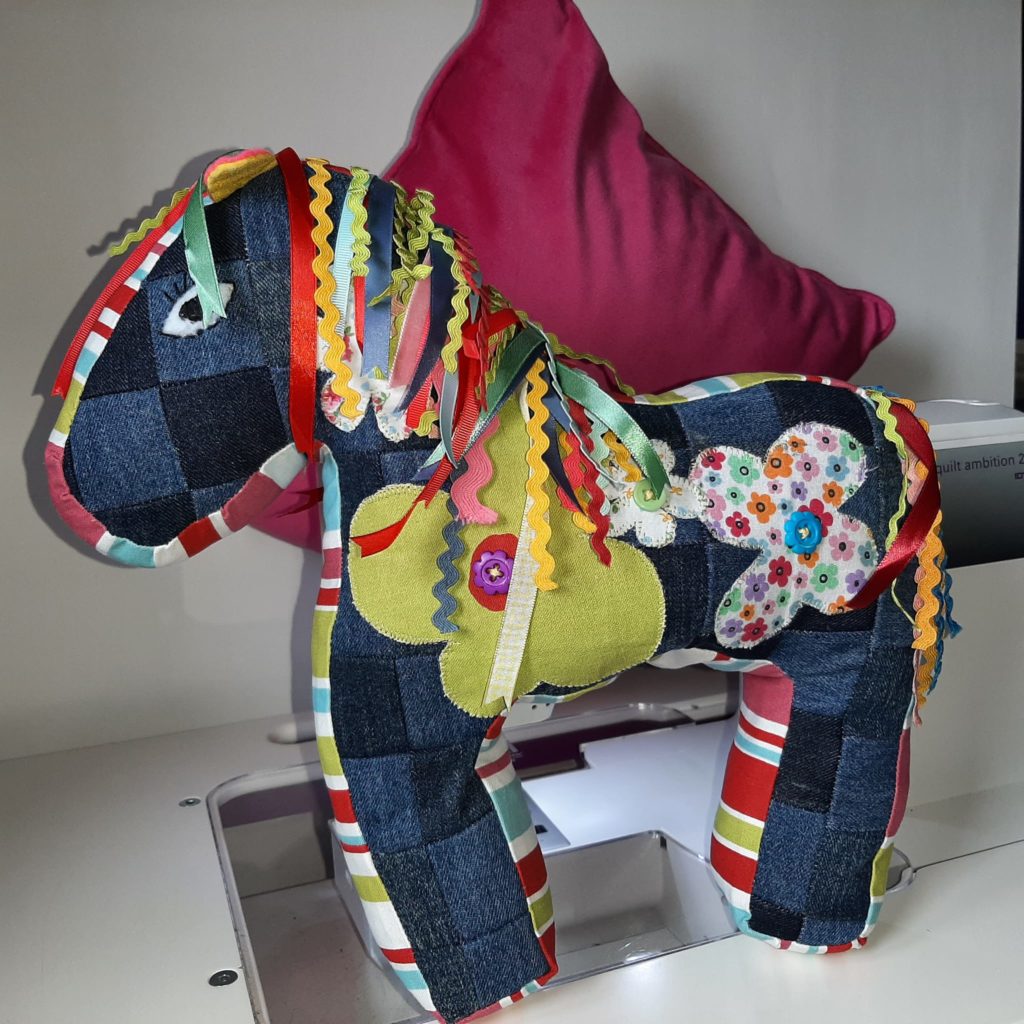
Christine made her mane from ribbon and ric rac braid which is genius and looks so fun, just like her pony!
Well that’s it for this week’s installment. You now have a few weeks to get your ponies made and shared.
There will be one big prize at the end of the sew along and everyone who has finished a pony and shared it on Instagram using the hashtag #patchworkponysustainablesewalong or in the SAL Facebook Group will be entered to the prize draw. Each finished pony will be an extra entry!
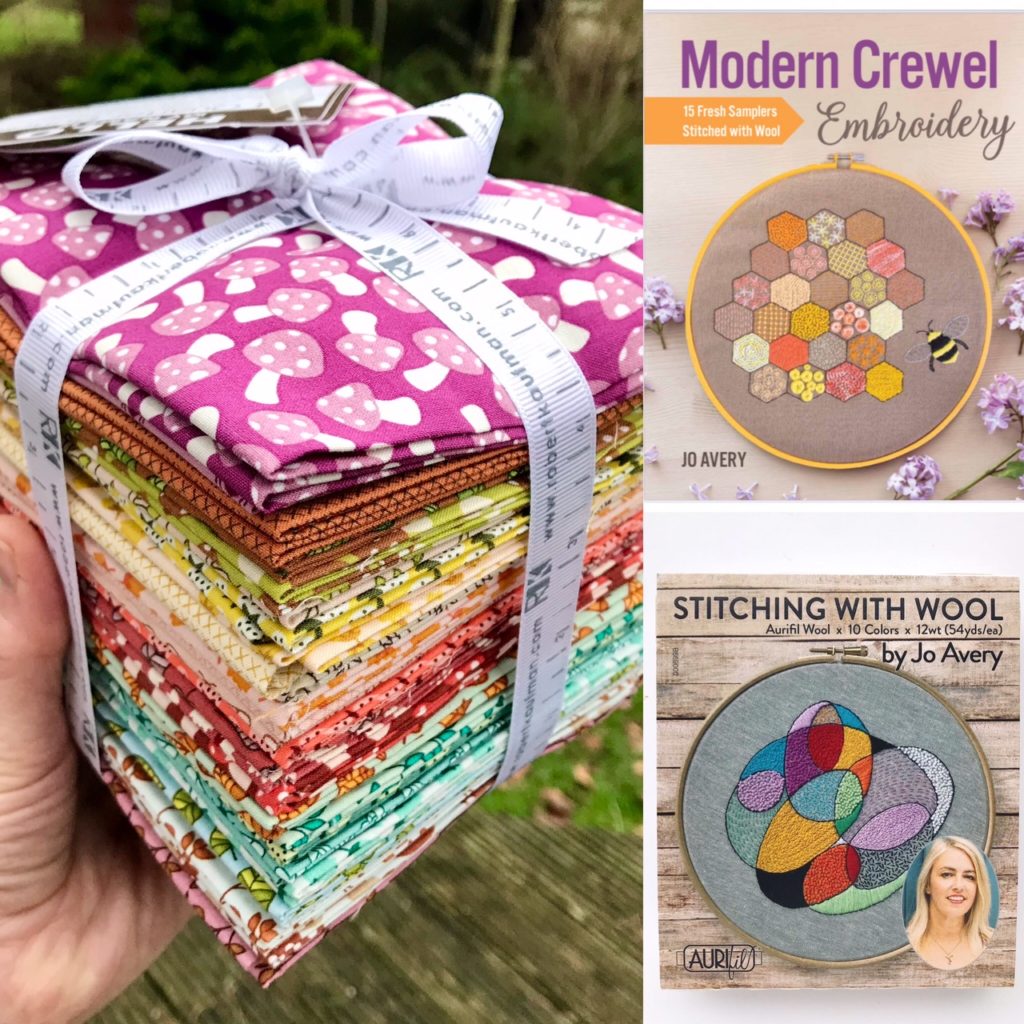
The prize is this fabulous FQ bundle of Elizabeth Hartman’s Berry Season collection from Robert Kaufman (courtesy of Anbo Textiles – thank you!) PLUS A copy of my new book Modern Crewel Embroidery AND a box of my accompanying Aurifil 12wt wool thread collection Stitching With Wool!!
Make sure you have shared your pony(s), as instructed above, by 7th March to be in with a chance of winning the prize. I will be drawing a winner on the 8th March and will be back here with a round up post and winner announcement (and probably another new pony from me!) Good Luck everyone!
If you want to join in there is still plenty of time! The pattern is available as a digital PDF from website here.

These all look amazing!
Ha…I didn’t pay attention at first and my gusset was a quilt cutoff that I quilted a little bit more so …yes…it was a bit hard to sew and that’s why my guy has a bit of a twist in one leg section and his face but I’m totally ok with it!:)
Are there any tips or guidance on making the wig? How thick to make it. If I read correctly, it is 7 in wide and the length of a sheet of paper?
Hi Cathy
Yes that’s it. I really just try and fill up the paper so you can’t see much of it through the yarn. However it would work just as well with less yarn for a more wispy look or with more for a fuller effect! So it’s up to you really 🙂
Yes, your video was helpful, especially as you’ve got me ADDICTED to these now, and I simply must make a unicorn! Your pony designs and pattern are just wonderful, Jo. After taking my two finished ponies (not yet shared on Instagram because I’m sticking to your Sew Along schedule) to my quilting group, for Show and Tell, I’ve had several people ask me about making them. I’m directing everyone to your website, and have written my latest blog post about it…. so if anyone says “hi from Linda,” you know where this comes from. 🙂 It’s been wonderful to watch your videos because it makes me feel like you’re with ME, just like when we first met, (too) many years ago. Wishing you were going to QuiltCon, but will hope to see you at QC 2024 in Atlanta.