
Easy Tote Bag Tutorial
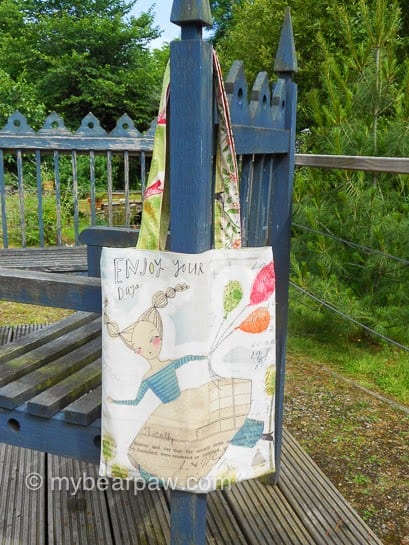
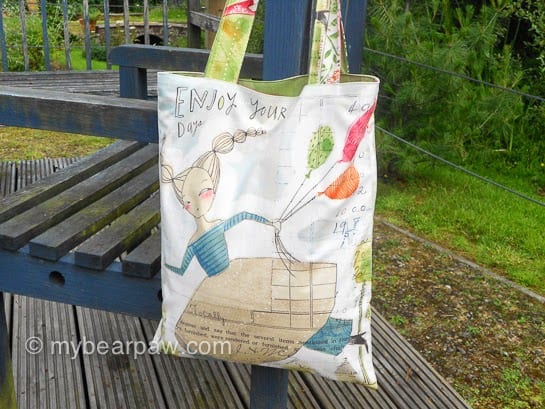
For a while now I’ve had this gorgeous ‘Made for Adventure’ panel of Cori Dantini’s (from her The Sweet Life collection) and have been meaning to do something with it.

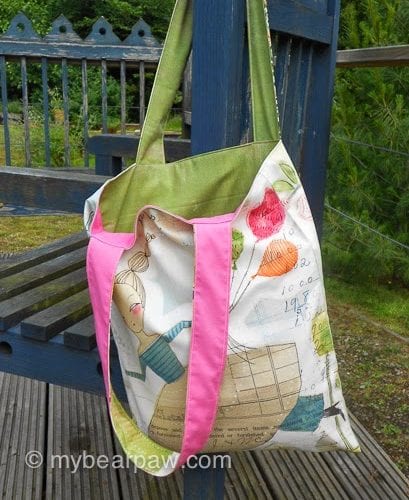
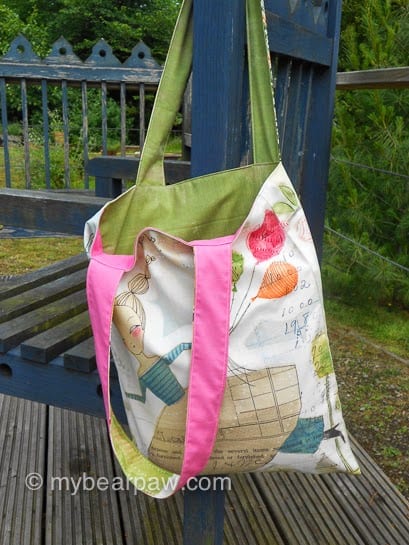
Recently we put our remaining stock of these panels in our summer sale and I decided it would be a good time to finally make something, and so I made this very simple tote bag. And luckily I remembered to take some photos while I was doing it so I could share this tutorial with you.
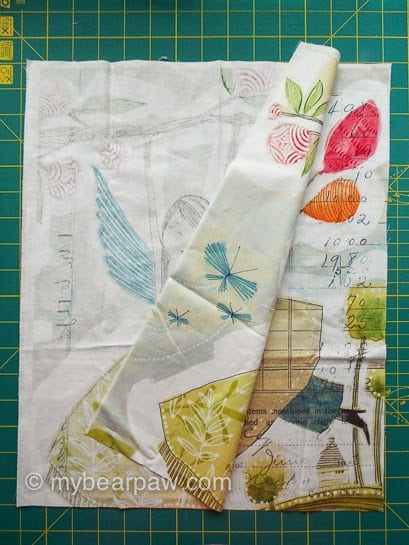
From each of your 2 FQ trim away a 2.25 inch strip from your long side (so it will be approx. 22 inches long), or cut 1 WOF strip from your half metre and cut in to 2 strips. Set aside
From the remainder cut 2 pieces exactly the same size as your bag fronts.
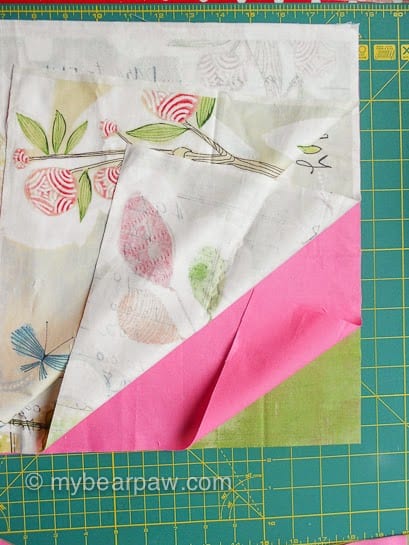
With right sides together sew round 3 sides of your bag fronts, leaving the top edges open and using a quarter inch seam.
Repeat with your lining pieces.
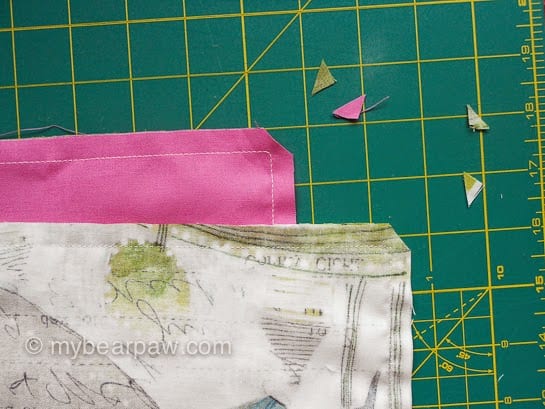
Snip bottom corners.

Turn your bag front inside out and press.
Don’t turn your lining inside out. Place it inside the bag front and poke down into the corners for a snug fit.
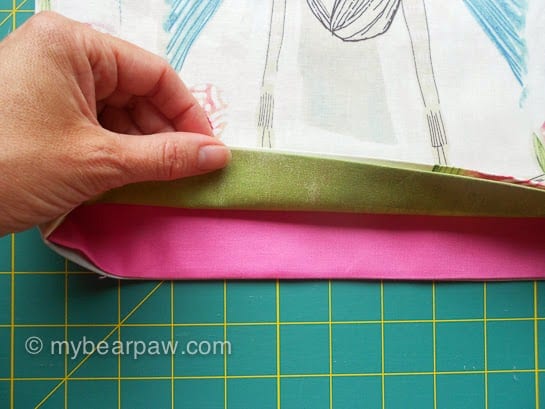
Turn under a half inch seam at the top of the bag front and the lining so that they line up. Press.
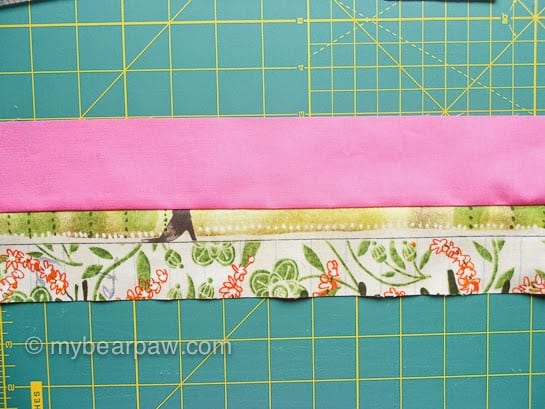
Now take one of your main fabric strap pieces and one of your lining fabric strap pieces and, with RST, sew together along one of the lengths. Press seams open.
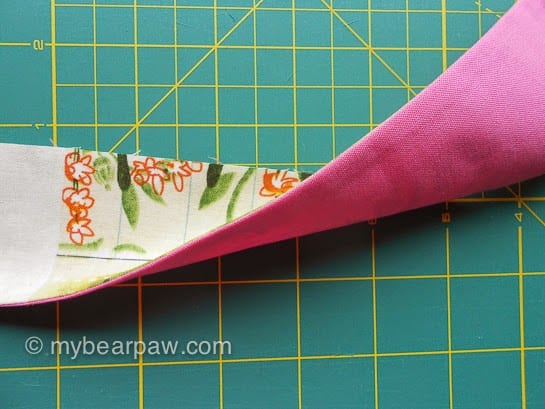
Fold in half with WST and press.
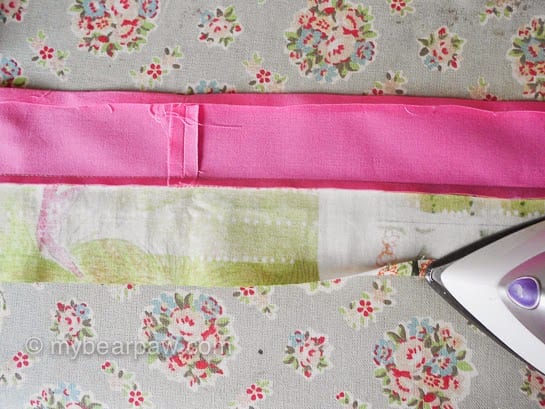
Open up again and turn and press under a quarter inch seam to the wrong side on both sides of the strap.
Fold back in half so turned under edges line up. Pin.

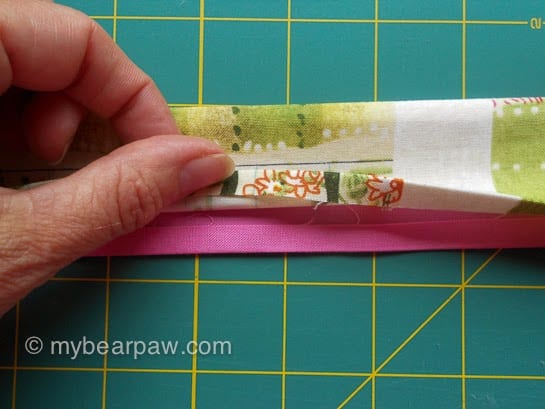
Topstitch a straight seam to sew this side of the strap together then sew a matching topstitched seam along the other side of the strap.
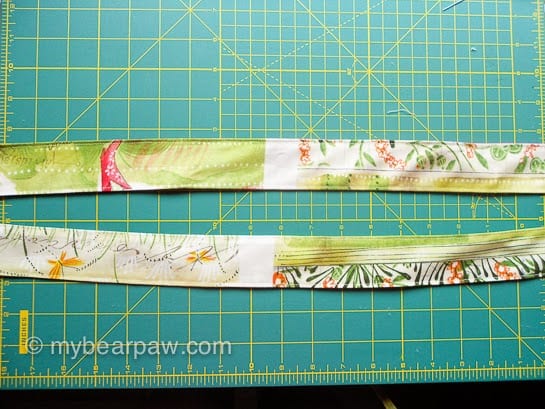
Repeat with the other strap prieces 2 give you 2 finished straps. Your straps may have a slight bow in them, this is a good thing!
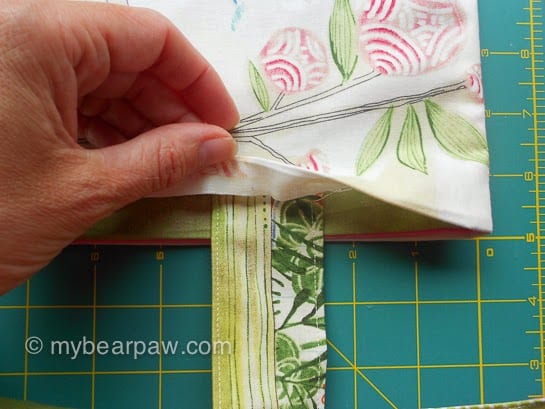
Take one of the straps and place the raw edge of one end in to the turned under seam of your bag about 2.5 inches from the corner. Pin in place.
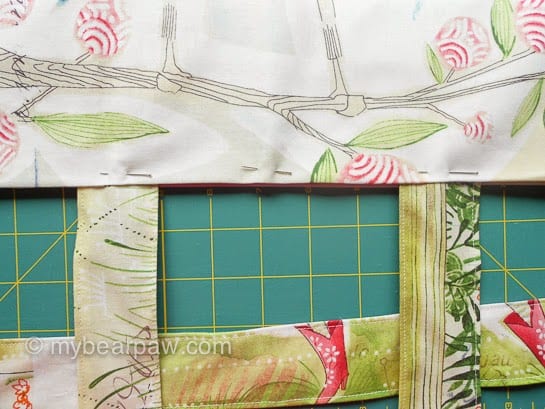
Place the other end of this strap about 2.5 inches from the other corner and pin in place. Use the slight bow to your advantage here by placing the straps in the direction of the natural curve.
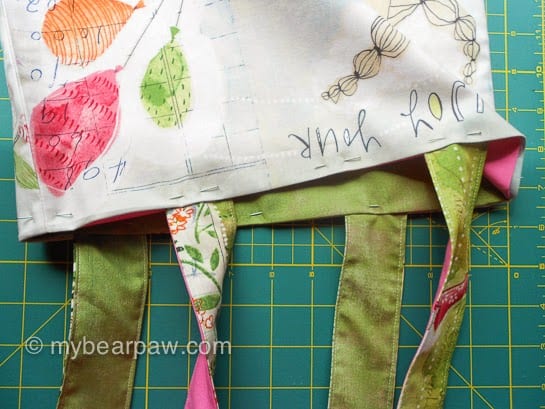
Turn your bag over and do the same with the other strap. Make sure both your straps are the same size before pinning down.
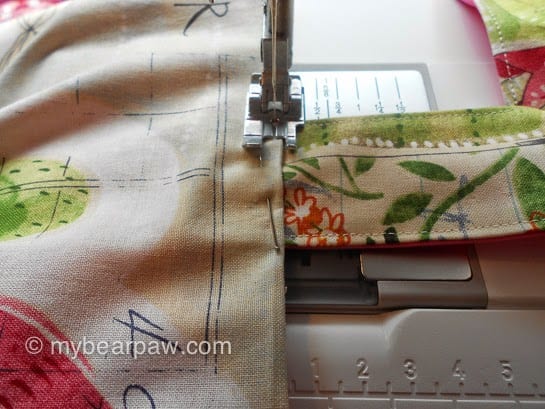
Now top stitch a straight seam close to the edge of the top of your bag from the front. This will secure your straps and finish your top edge at the same time. Don’t sew through the other side of the bag when you are doing this!
And that’s it – you’re finished!
I reckon these take about half an hour and look really special made with lovely fabric. And you can make them to any size you like so a great way to use up larger pieces of fabric that you can’t bear to cut up.
Now as I said, I had these panels in the sale back in July, but it’s taken me so long to post this tutorial *humming, looking around the room* that the sale has finished on the website. BUT I do have a handful of panels left in the shop for £6, and you could buy one of these by coming to our Edinburgh shop, OR by phoning the shop (0131 228 6377) on Friday or Saturday and buying one over the phone which we will send to you for a small fee 🙂
They are on our website here, but for £8.99 (happy for you to pay this for them if you like!).
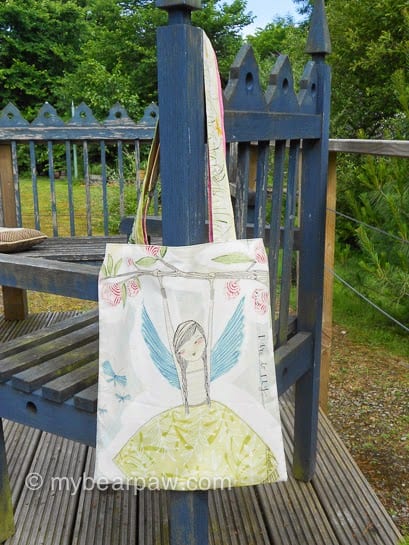
This bag would also work so well made with one of our new A Wonderful Time panels. Buy 2 panels and get 3 bags! Or just use the panels for the front with a plain back and get 3 bags out of 1 panel!!
I hope you have enjoyed this ‘Tote Tute’! Happy bag making!!
Lovely way to use those panels :o)
Great bag for big prints!
Lovely bag. If you make the two bag parts. and turn one the right side out, but put them together RST, then stuff your handles between the layers and pin in place, you can machine around the layers (leaving a gap between two straps) and pull the whole lot through the hole, and tada! (i get annoyed turning that 1/4" under! i cut my straps 4x wider than required and fold edges to centre and then in half for the same reason!!!!)
It's a gorgeous bag!
So lovely, the panels look they were just made for something like this. x
Great tutorial thank you. I want to make one of these for a swap partner and have been looking for a tutorial. THank you once again xx
Great tutorial. I like your blog,. Thanks for sharing.
non woven bag machine