
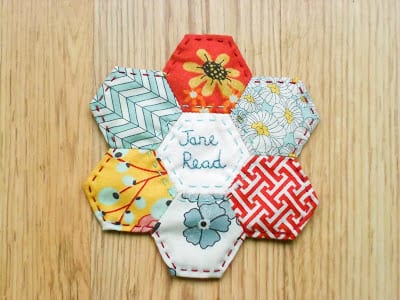
Nametags Workshop


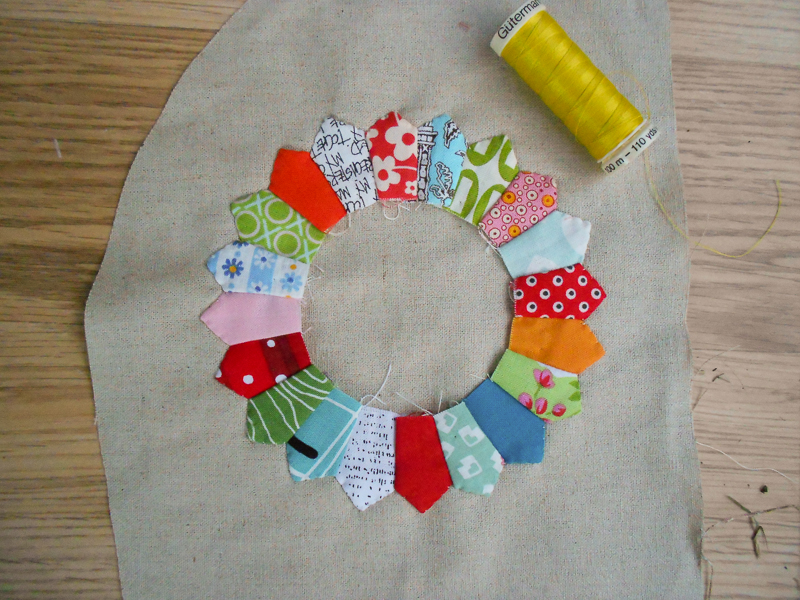
Here is a slightly more ambitious attempt. Using my Darlene Zimmerman (I just love her name and like to mention it at every opportunity) “EZ Dresden Ruler” at the 1 and a half inches high mark, I made this tiny dresden plate and appliqued it to some Essex natural linen.
I then embroidered my (secret) partner’s name on to a separate piece of linen and appliqued this to the centre of the dresden.
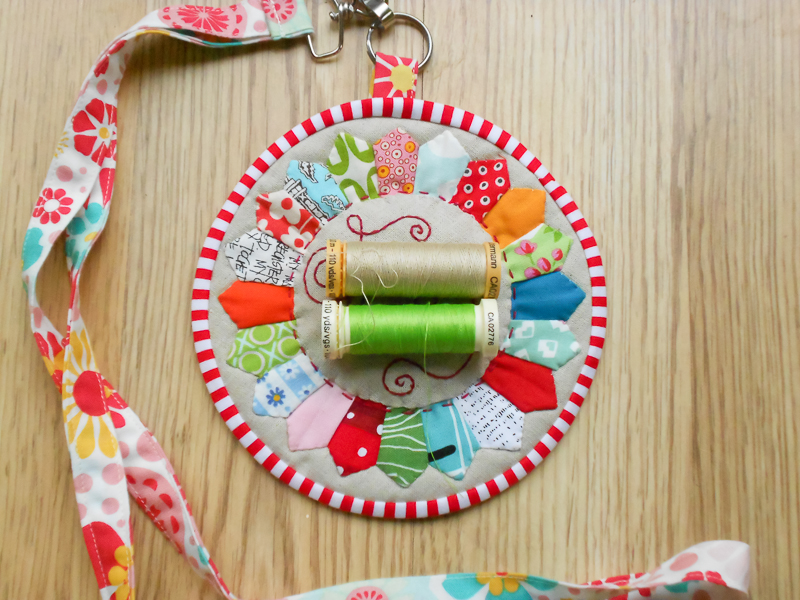
I then made it into a little quilt with wadding and a row of quilting round the centre. Before I bound it with that bias binding made from a diagonally striped fabric, I stitched a small loop of strap (cut from a longer piece I had already made for the lanyard/key fob) to the backing, which then became sewn into the binding at the back.
This is my official nametag swap badge for the Stitch Gathering, hence the covered up name.
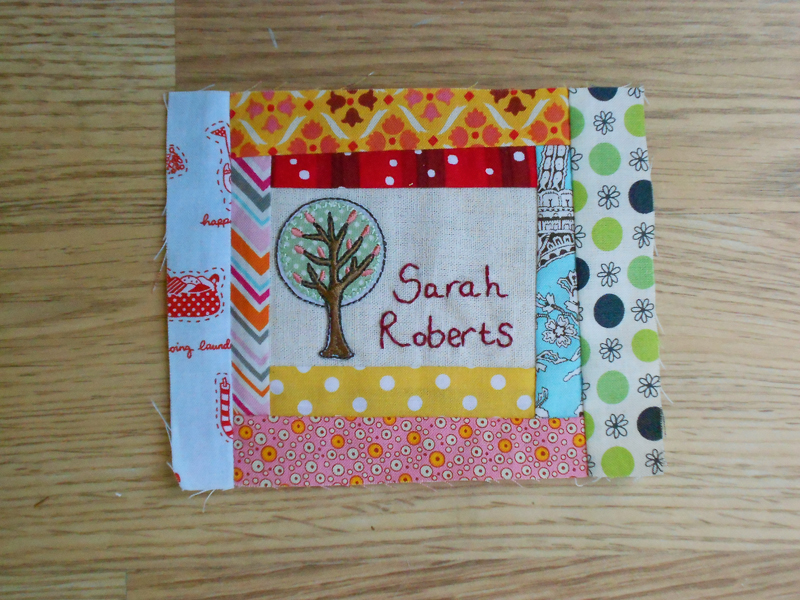
Here’s another lanyard style badge, this time for my colleague Sarah for her to wear when she comes to help me at the Craft Club (have I told you about my craft clubs yet? They are going really well and you can find out what they are here).
It’s just some scrap strips sewn around a piece of linen that I have embroidered Sarah’s name on and added that little tree, which is an embroidered iron-on transfer.

Using the method above, but with no quilting and with a piece of card added for extra sturdyness, I finished this badge with a few coloured buttons (Sarah loves buttons!).
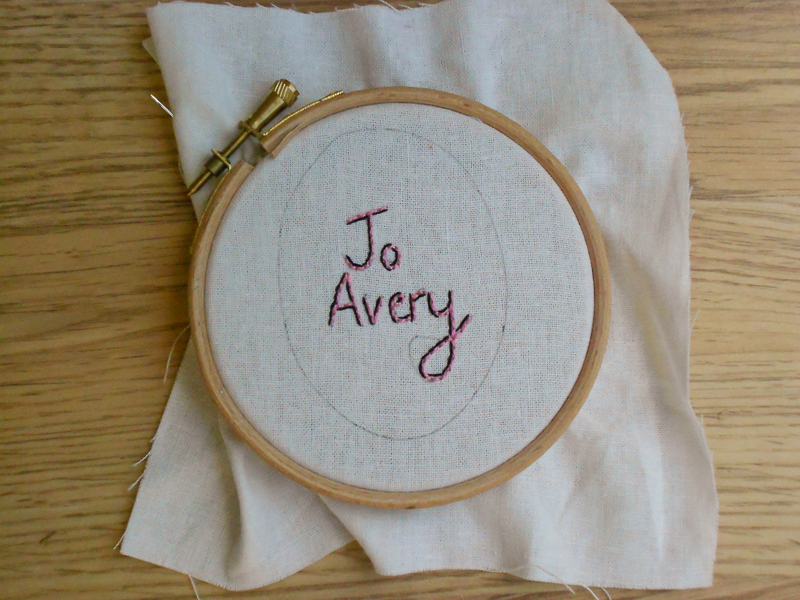
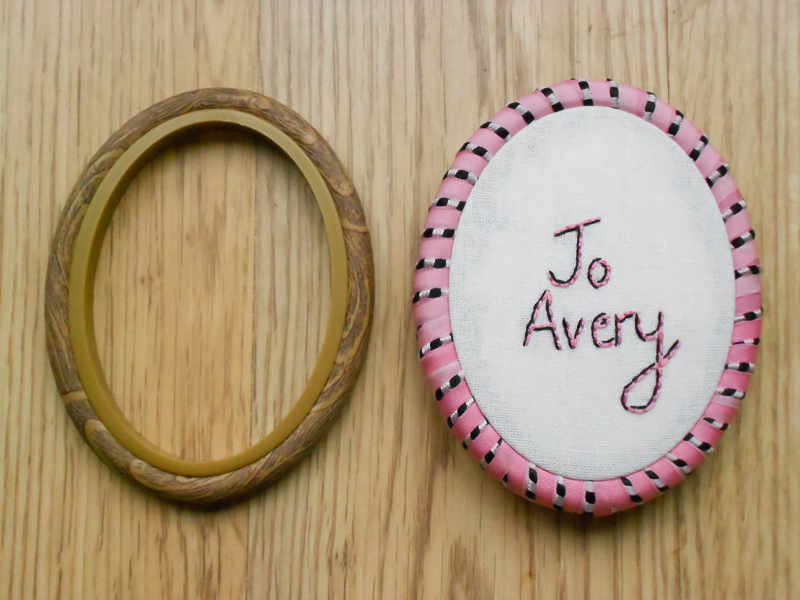
Lastly here is a really simple, quick one. That funny little oval below is a flexi hoop for tiny embroideries. It measures 2 x 3 inches so is perfect for a badge, or even a decorative brooch. The wood grain plastic is a bit naff so I covered it by wrapping pretty ribbon around it. I embroidered my name using a pale pink perle no. 8, then ‘shadowed’ it with 2 strands of black floss to give that fancy effect.
I then stuffed the inside with some scrap wadding and backed it with felt.
If you don’t have one of these frames you could just use some heavy card in a similar shape and wrap ribbon around that to make your own frame.
Here are the backs of all 4. I still need to add brooch clips or safety pins to the back of the brooch badges.
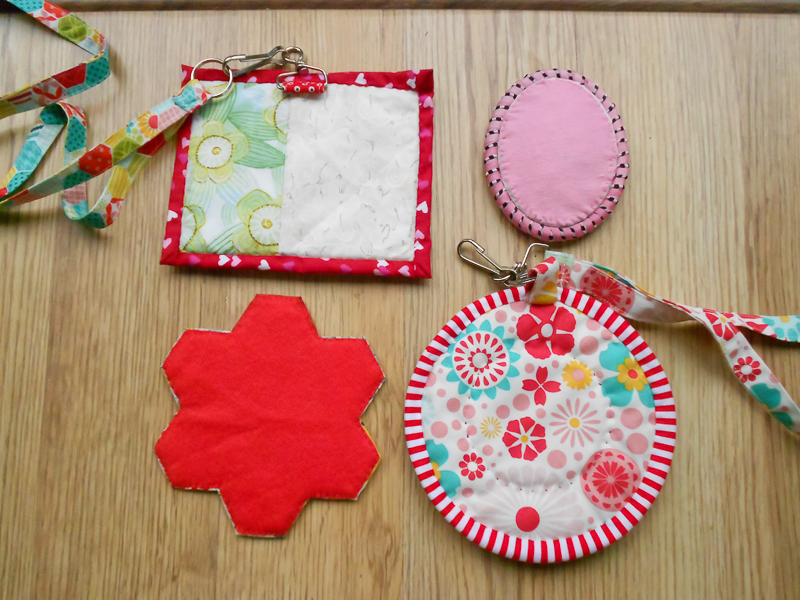
I do hope you have found this useful, especially those Stitch Gathering Retreaters or Bearpaw Craft Club members who read my blog.
Happy nametag making!
Great ideas for practicing skills too! Thanks!
Oh Jo I would have so loved to be joining you. I guess you will have seen on my blog why I can't but maybe another year. I'll be thinking of you. xxxx
What, there are people that haven't made their nametags yet? Shocking! Can't think who that might be. No. Not at all…
'Cos we would never do that would we……. Love all of these Jo. Great bit of inspiration. Ta
Bwhahahhaaa Katy!;)
Please oh please can the round one be mine?:)
Love your hexie name tag…so cute. You should go to Angie's http://quiltingreadersgarden.blogspot.com/2013/08/its-hexie-friday.html or my blog and post it for Hexie Friday.
Sarah, those are so cute and what a great idea for nametags! I'm planning on making a hexie and Dresden one. Thanks for the idea! And thanks for linking to Hexie Friday.
Such a cute idea!
Lovely!! I wish I could go to a workshop like that. *Floh*
Love your ideas. This will help me with my guild badge. Thanks
Love your ideas. This will help me with my guild badge. Thanks
Thanks for these ideas. Very cute labels.
Thanks for the ideas! I'm really looking forward to making a badge for my partner, and I can't wait to receive one.
I love your log cabin badge, so badly, I made the same 😉