
Robin Christmas Decoration Tutorial
You will need:
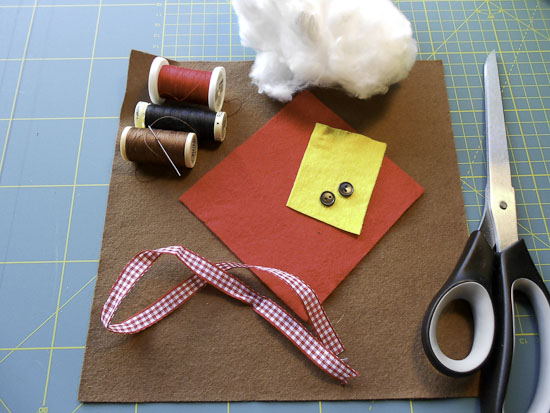
Brown, red and yellow felt.
Toy stuffing
small piece of ribbon
2 small black buttons
scissors, needles and matching thread.
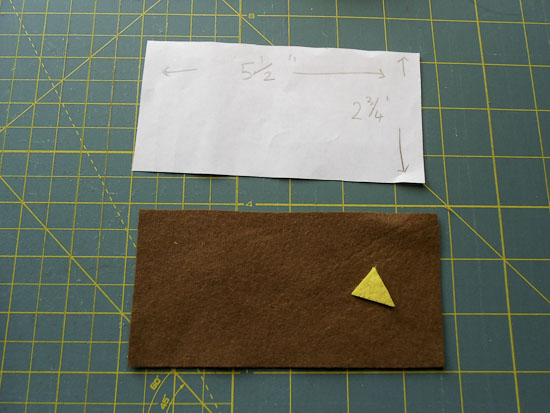
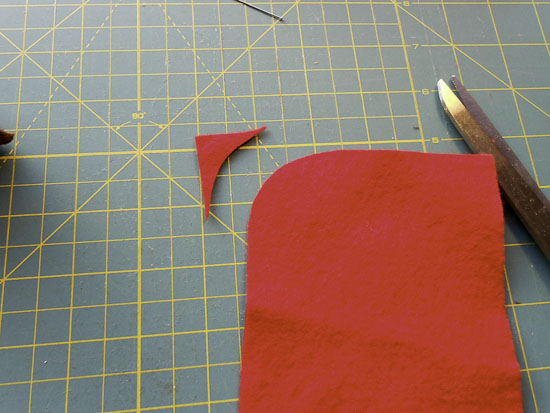
Cut a rectangle of brown felt 5 1/2 x 2 3/4 inches. Cut a beak shaped triangle from the yellow felt.
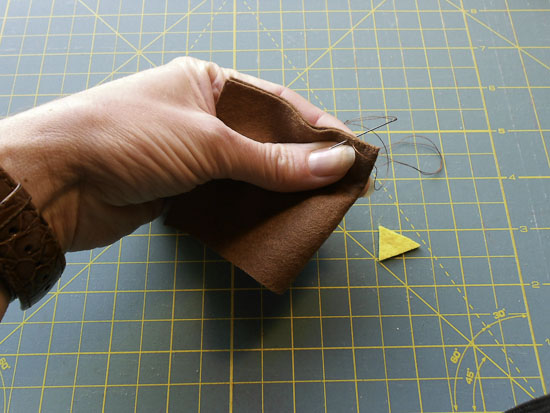
Fold the brown felt rectangle in half and start sewing together one of the sides adjacent to the fold, as above. Use matching thread and small over-stitches.


Continue sewing round the corner. After about 1/2 an inch, fold the ribbon in half and place the 2 raw ends of the ribbon loop into the seam and sew through this to secure it in the seam as you did with the beak. Continue sewing to the next corner.
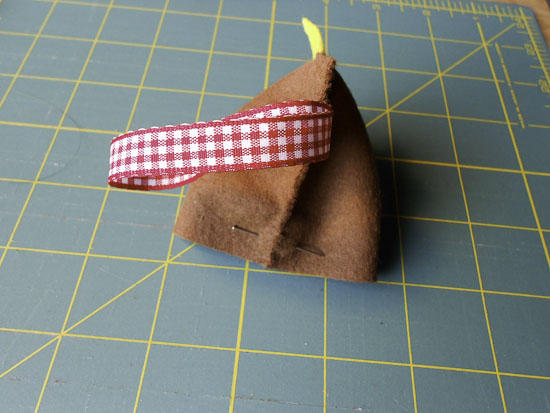
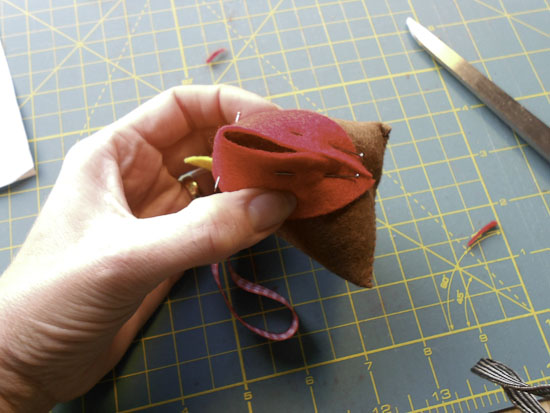
Now for the magic bit! Open up your remaning open end and re-fold so that the seam is on top, making your robin into a triangular shape.
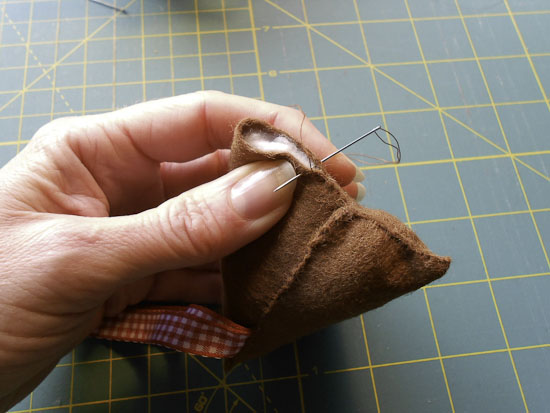
Start sewing from one of your new corners till just after the centre seam.

Stop here and stuff your robin with toy filling, pushing it in to the pointy corners.
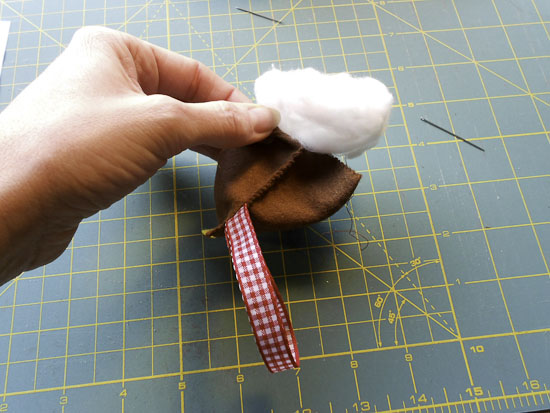
When your robin is nice and fat continue sewing the last seam closed.
Now it’s time to make his red breast.
Cut a rounded end from your square of red felt.

pin this to the front of your robin and wrap the felt around his body.

Turn him upside down and pin the felt to his body.
Trim the red felt so it neatly fits around his pointy front.

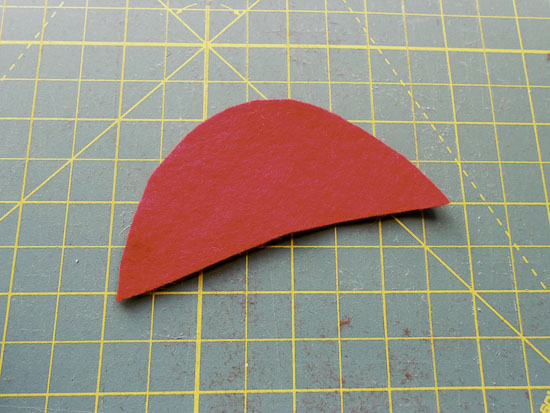
The shape you will end up with is a slightly extended semi-circle. It is basically a little cone that fits snugly on your robin.

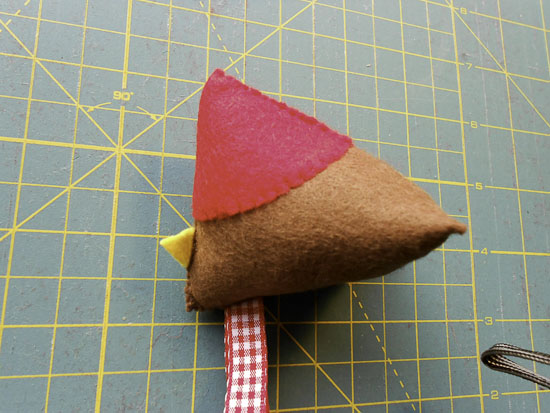
Pin this securely around your robin’s ‘breast’ and sew the bottom seam from the corner.

Now sew around the edge of your red breast, securing it in place to the robin.
Now it’s time to give your little robin the power of sight!

Take you 2 black buttons and sew either side of his beak using black thread. You can also use beads or embroider eyes.
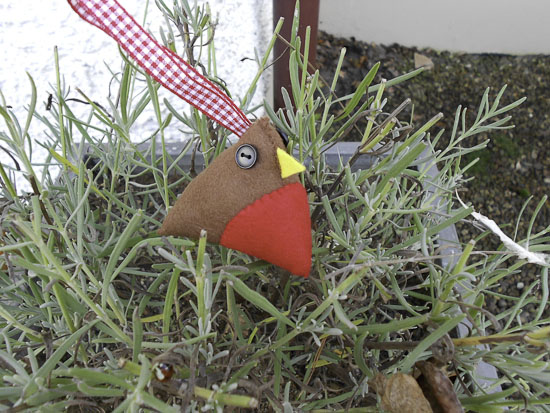
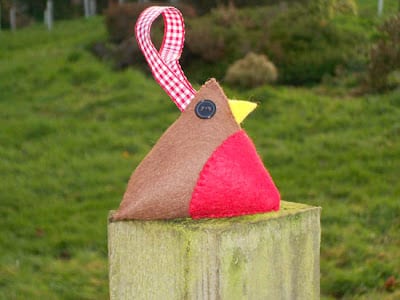
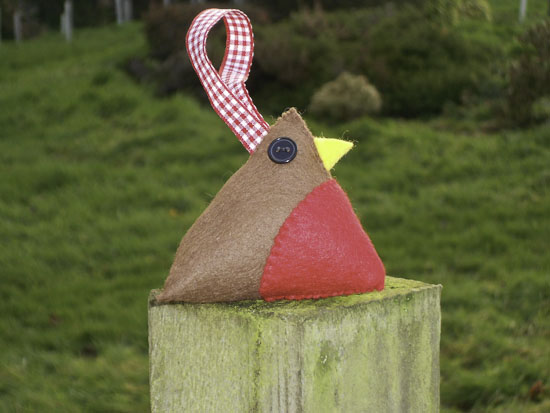
Now you have finished your robin, take him outside and set him free! Or keep him safe inside and hang him from your Christmas tree!
I hope you have enjoyed this little tute and have found it useful. If you make and feature this project please credit me and link back to this blog where possible.
Thank you!
Rockin' Robin x
He's a cutie!
Aww, cute wee guy!
Very sweet and such a simple way of making him. I tried last year with circles and it took me forever to make each robin. Thanks!
Brilliant tutorial, gonna get the kids making these at the weekend 🙂 Thanks so much for sharing
Such a cute idea!! He'd be cute for Easter too!
Thank you for the Robin Tutorial. He is so cute and just screams to be made!!! Very generous of you – thanks!
Hey Jo, how cute is that little Robin?…………
I just love English Robins, they are quite different from the ones that visit me in Winter……..
I have just made some owl sewing needle books and giving them away.Pop over and leave a comment to go in the draw if your are interested,
Claire :}
Este blog é uma representação exata de competências. Eu gosto da sua recomendação. Um grande conceito que reflete os pensamentos do escritor. Consultoria RH
Too cute!
Wow amazing, Nice content I found so many interesting stuff in your blog especially its discussion Thanks to sharing thanks!social media business development jobs